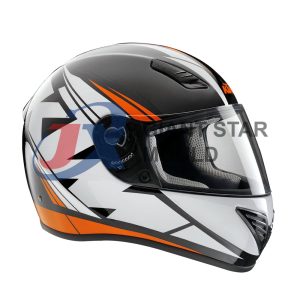
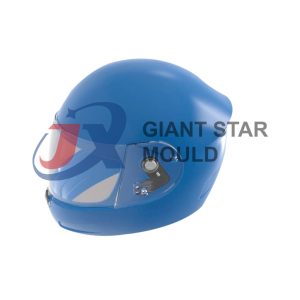
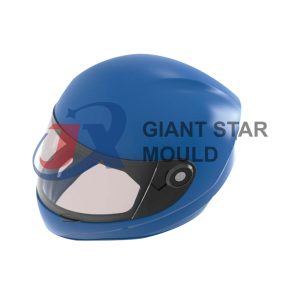
Helmet Mould 08

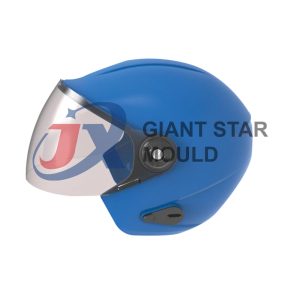
Helmet Mould 08
Creating a helmet mold can be a complex process, especially if you’re aiming for precision and durability. Here’s a general outline of the steps involved:
- Design: Start with a detailed design of the helmet. You can use CAD (Computer-Aided Design) software for this purpose. Ensure that your design includes all the necessary features and details.
- Materials: Select the appropriate material for making the mold. Common options include fiberglass, silicone, or polyurethane. The choice depends on factors such as the desired finish, flexibility, and the number of casts you intend to make.
- Model Preparation: If your helmet design is in a digital format, you’ll need to 3D print a prototype. If it’s a physical model, ensure it’s properly finished and polished to eliminate any imperfections.
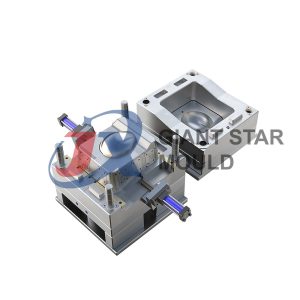
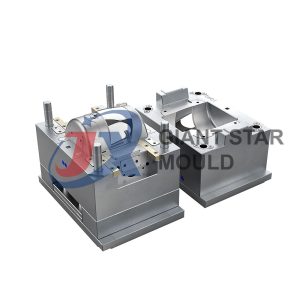
- Mold Box: Construct a mold box around the helmet prototype. This box will contain the molding material and provide a frame for the mold.
- Release Agent: Apply a release agent to the surface of the prototype. This prevents the mold material from adhering to the prototype, making it easier to remove later.
- Mold Making: Depending on the chosen material, follow the instructions for mixing and applying it. For example:
- Fiberglass: Apply layers of fiberglass resin and fiberglass cloth over the helmet. Allow each layer to cure before adding the next.
- Silicone: Mix the silicone according to the manufacturer’s instructions and pour it over the helmet. Ensure that the entire surface is covered evenly.
- Polyurethane: Mix and pour polyurethane liquid into the mold box, ensuring it covers the helmet completely.
- Curing: Allow the mold material to cure completely. This may take several hours or days, depending on the type of material used and environmental conditions.
- Demolding: Once the mold material has cured, carefully remove the mold box and separate the mold from the prototype. Take your time and be gentle to avoid damaging the mold or the prototype.
- Finishing: Trim any excess material from the mold and inspect it for any imperfections. You may need to do some touch-ups or repairs depending on the quality of the mold.
- Testing: Test the mold by casting a helmet using the appropriate material (e.g., fiberglass, plastic). This will help identify any issues with the mold and allow you to make adjustments as needed.
- Finalizing: Once you’re satisfied with the mold, it’s ready for use in producing helmets. Store it properly to ensure its longevity and reusability.
Keep in mind that making a helmet mold requires precision and attention to detail. It’s a multi-step process that may require some trial and error, especially if you’re new to mold making. Consider seeking guidance from experienced professionals or resources specific to your chosen molding material for more detailed instructions.