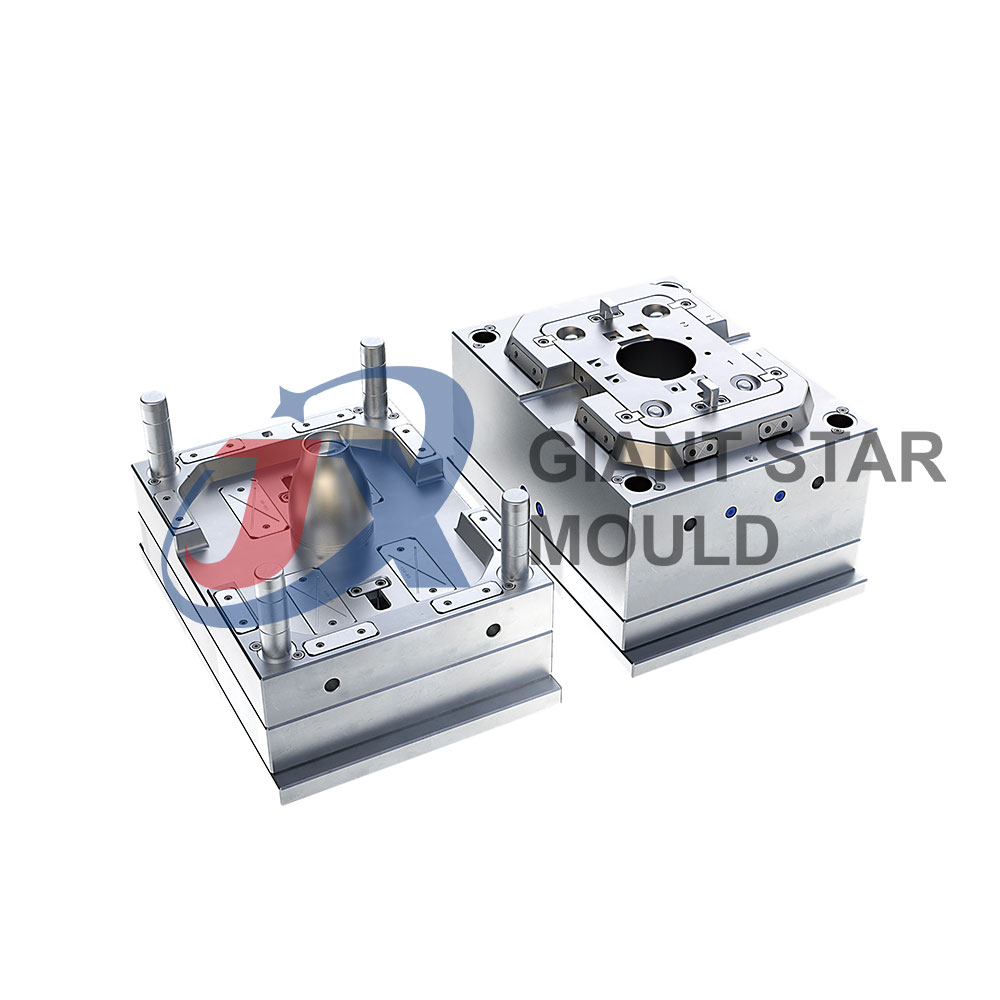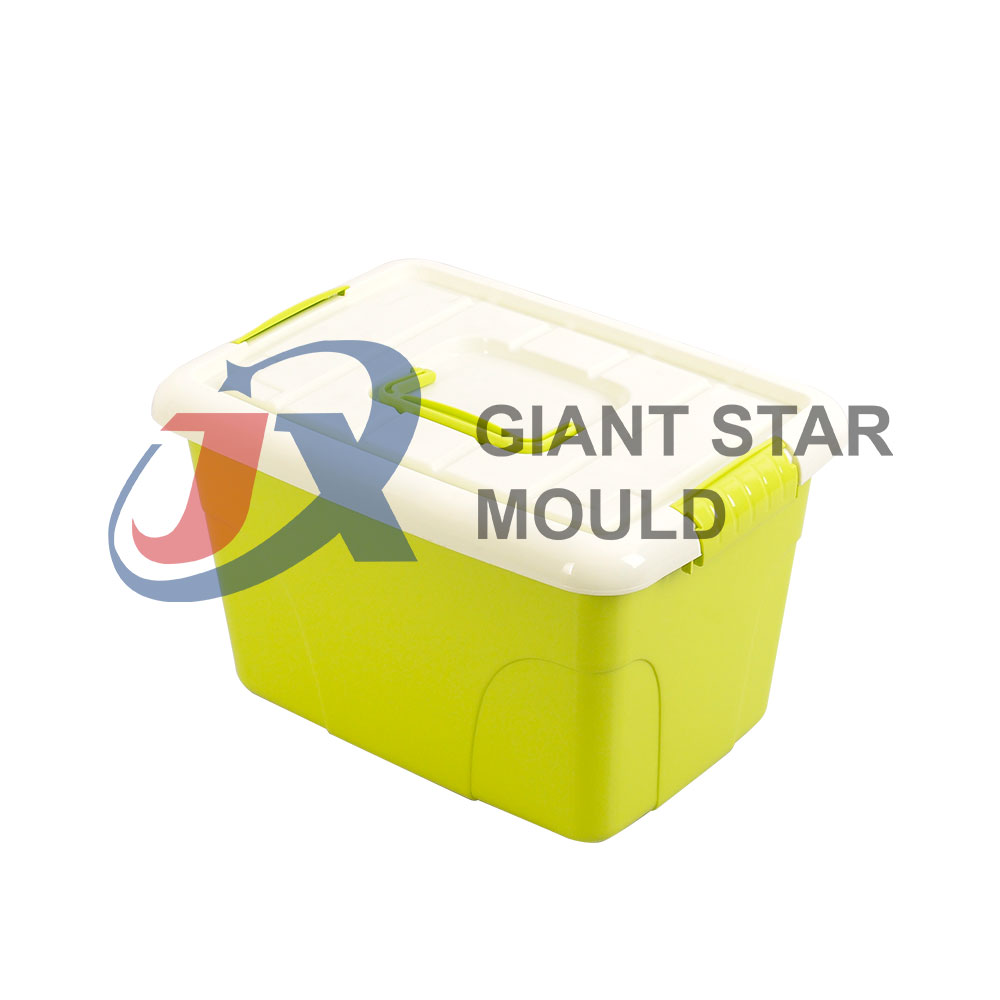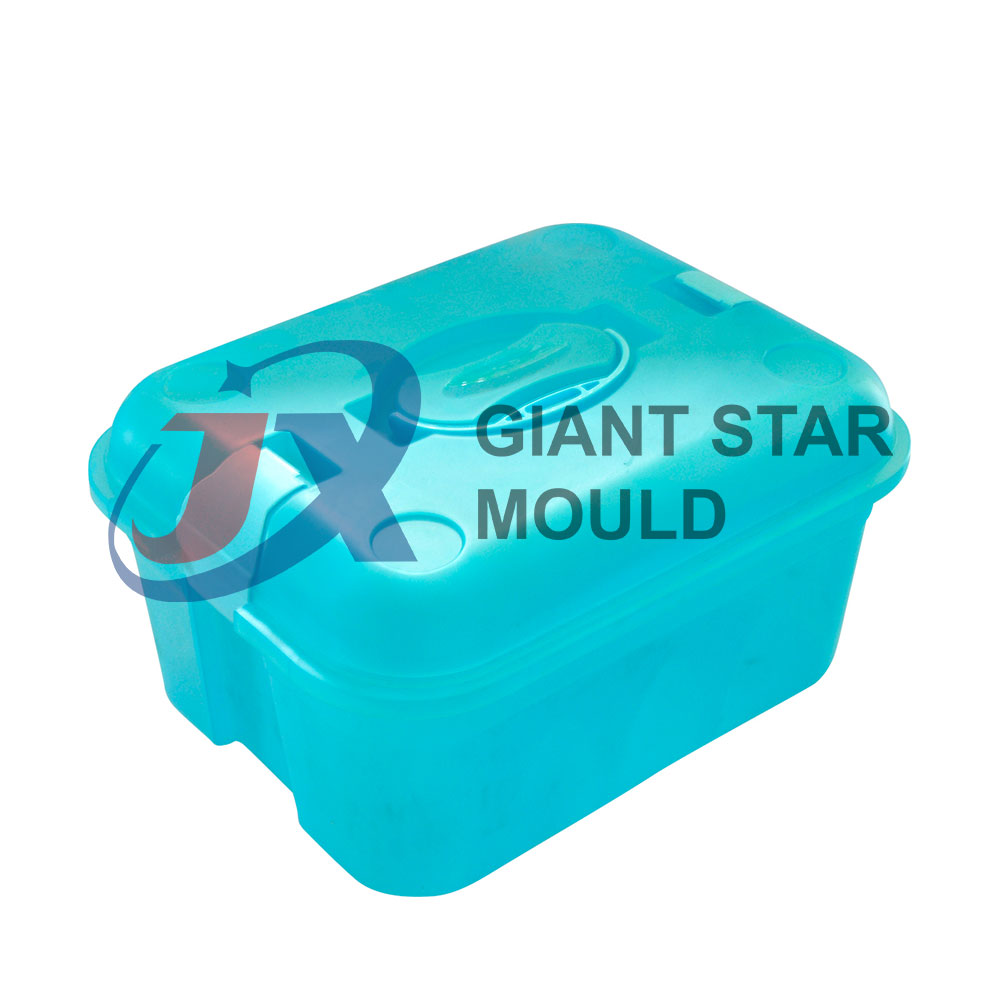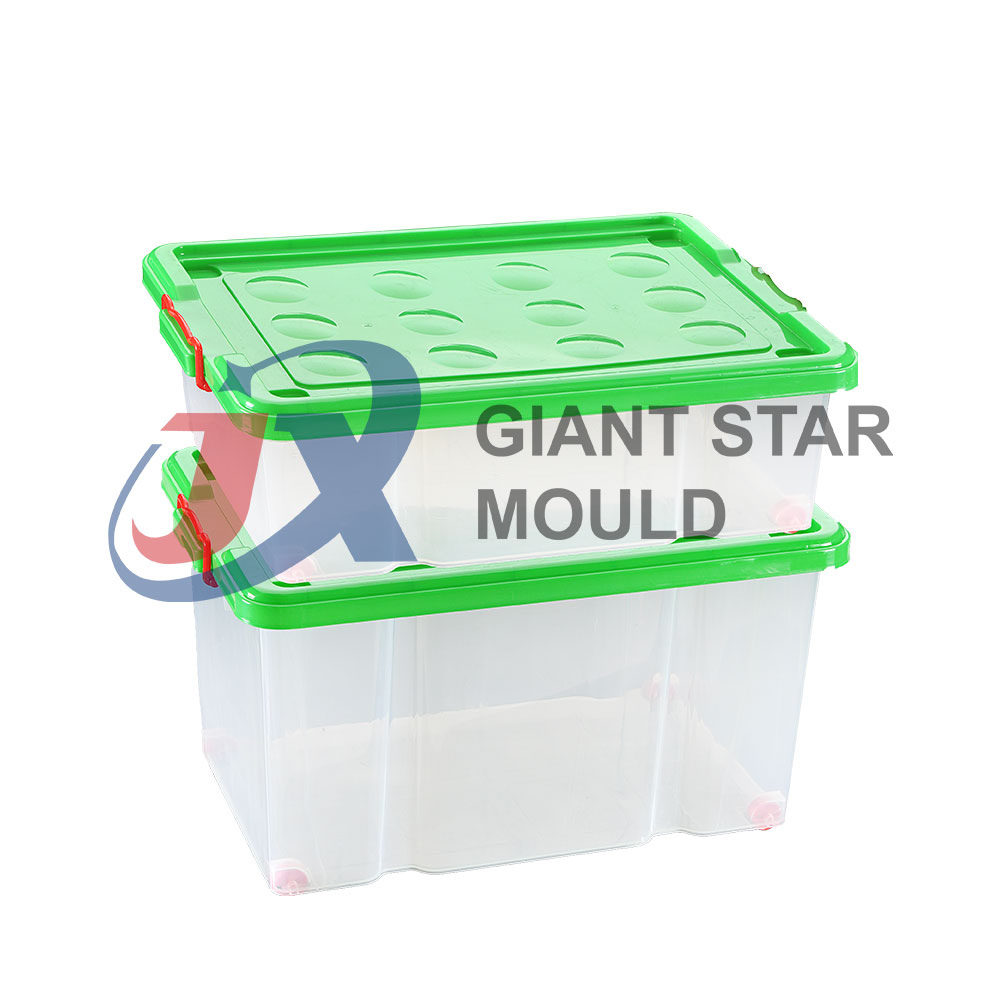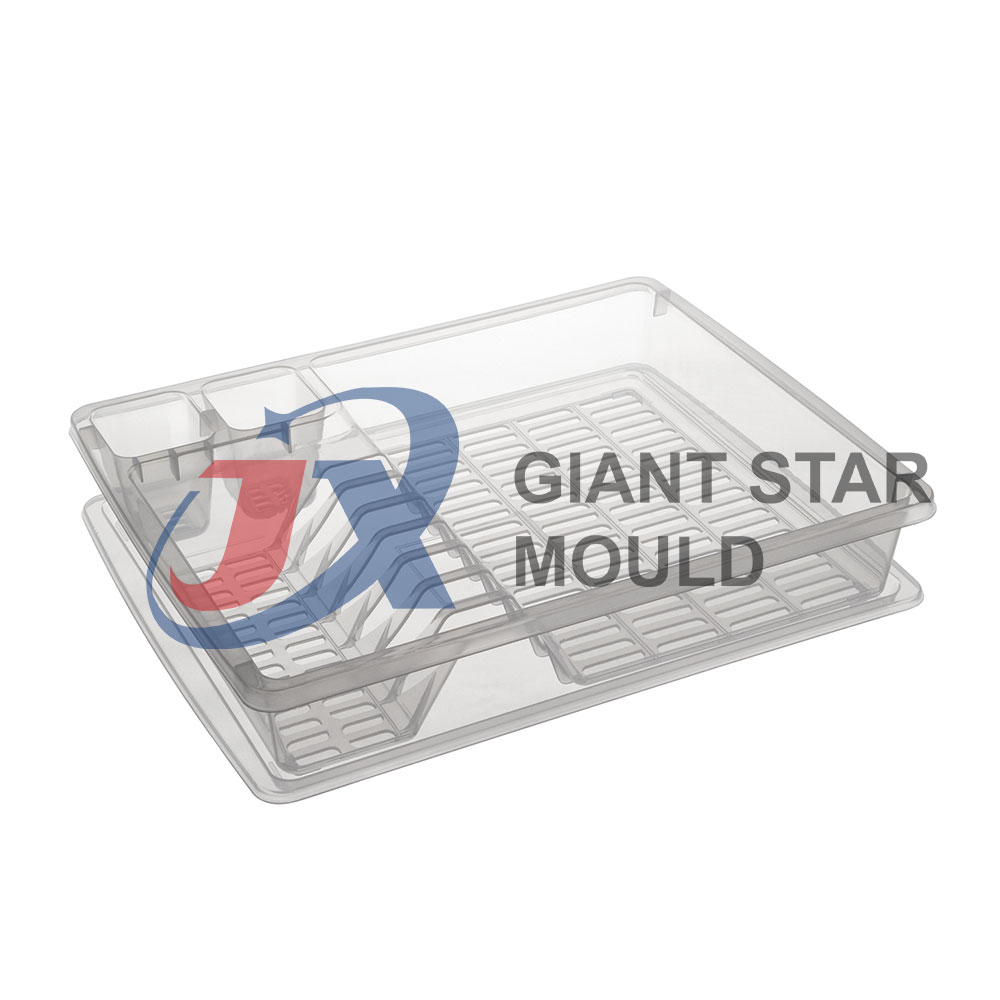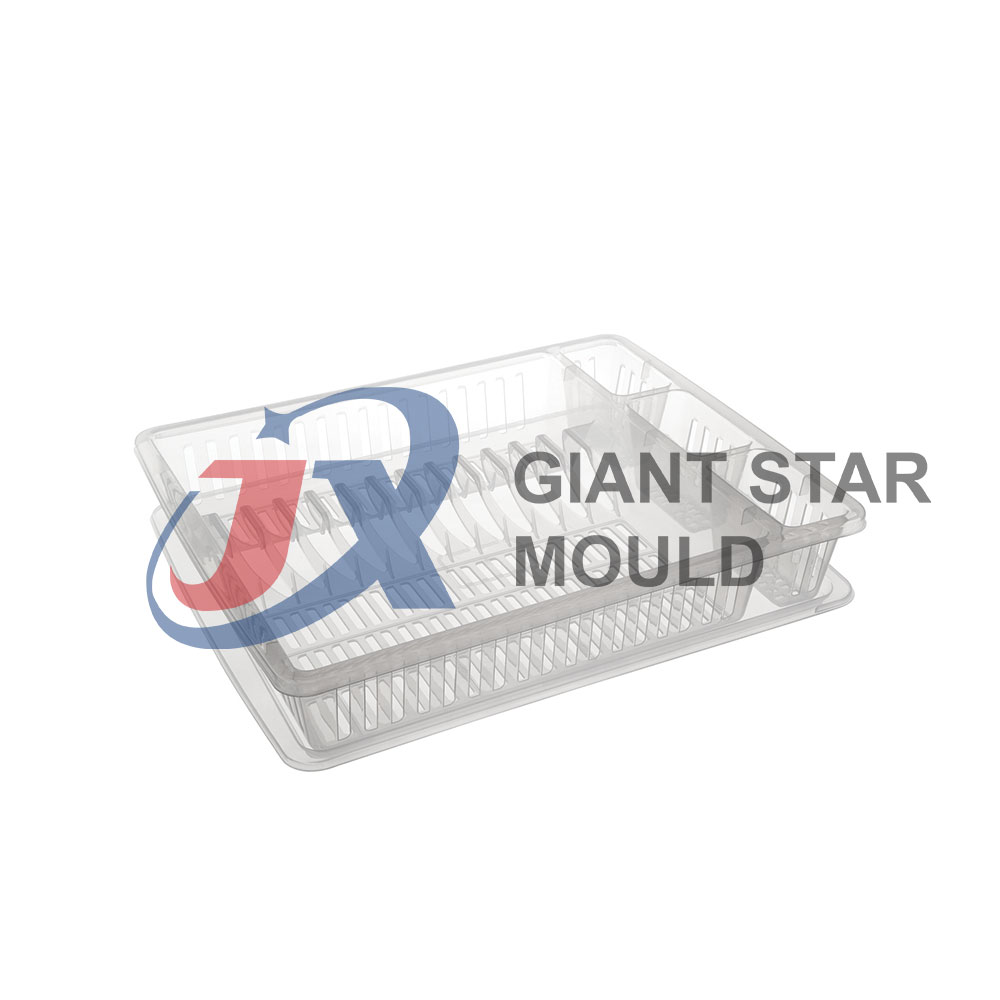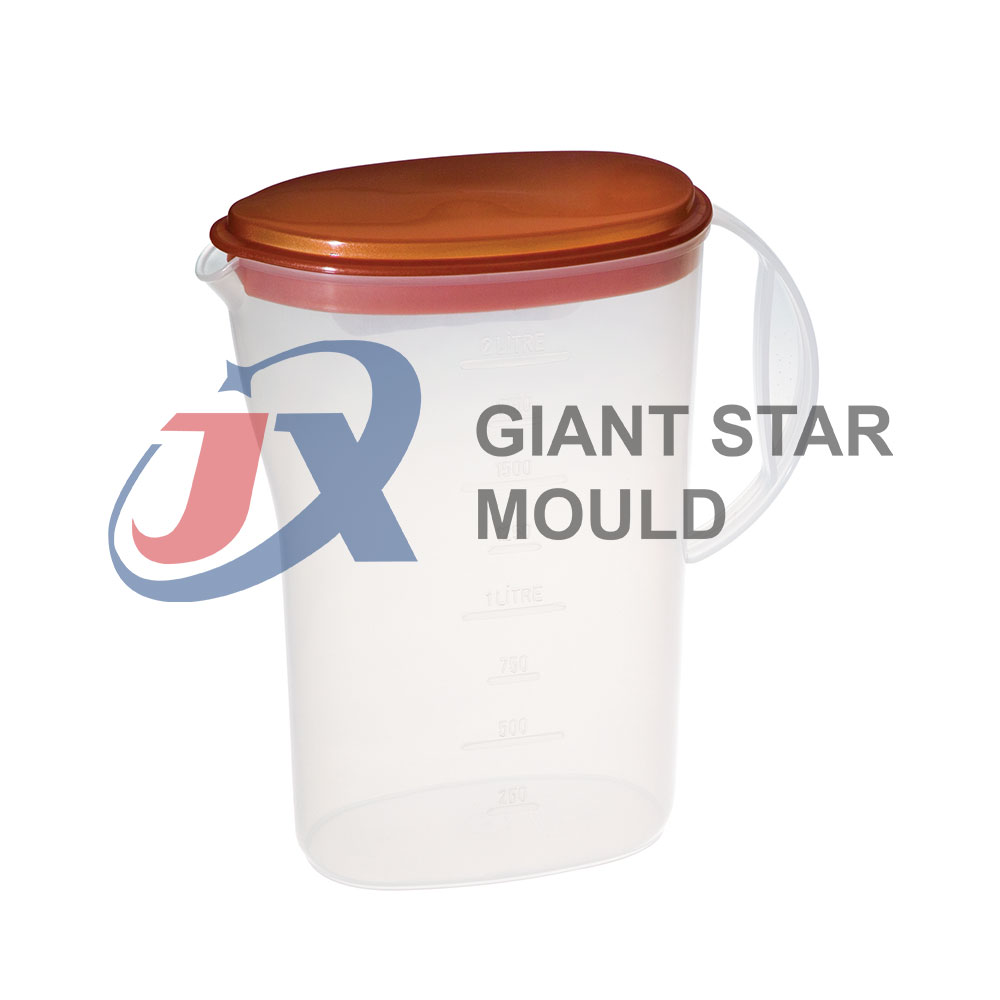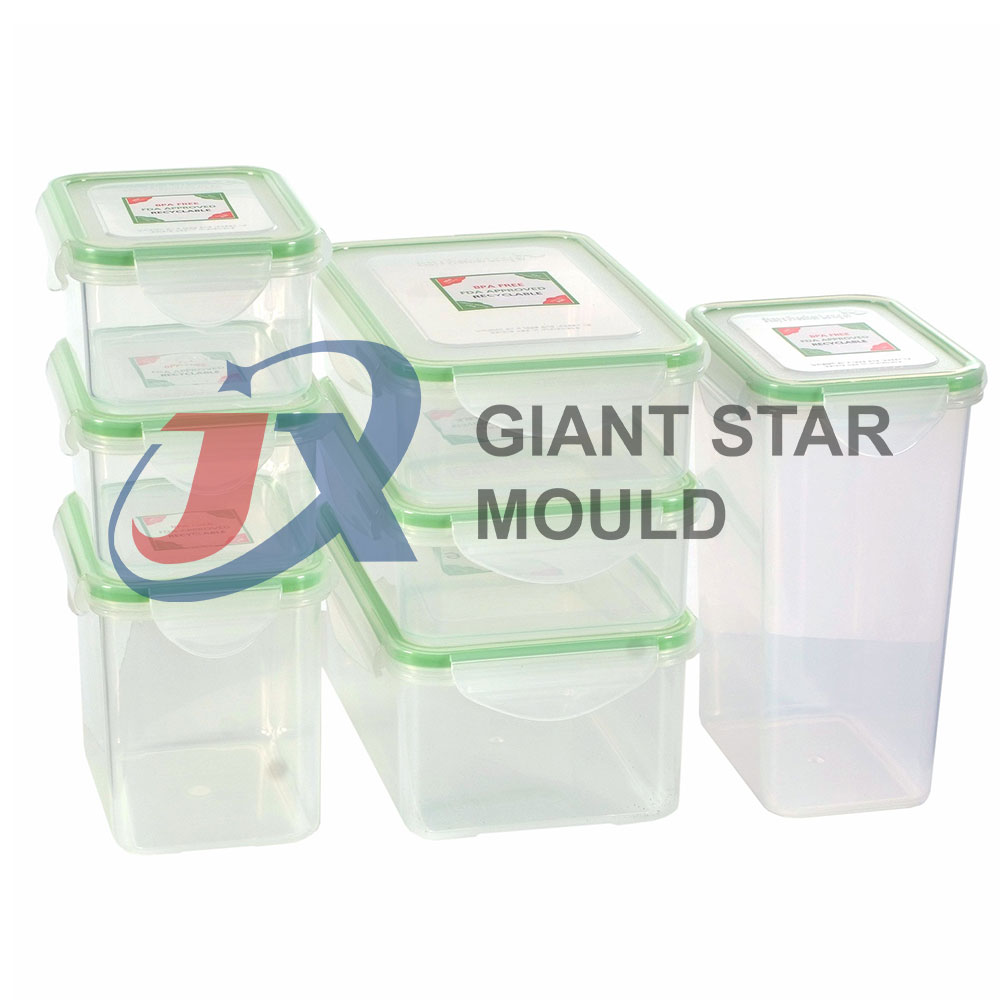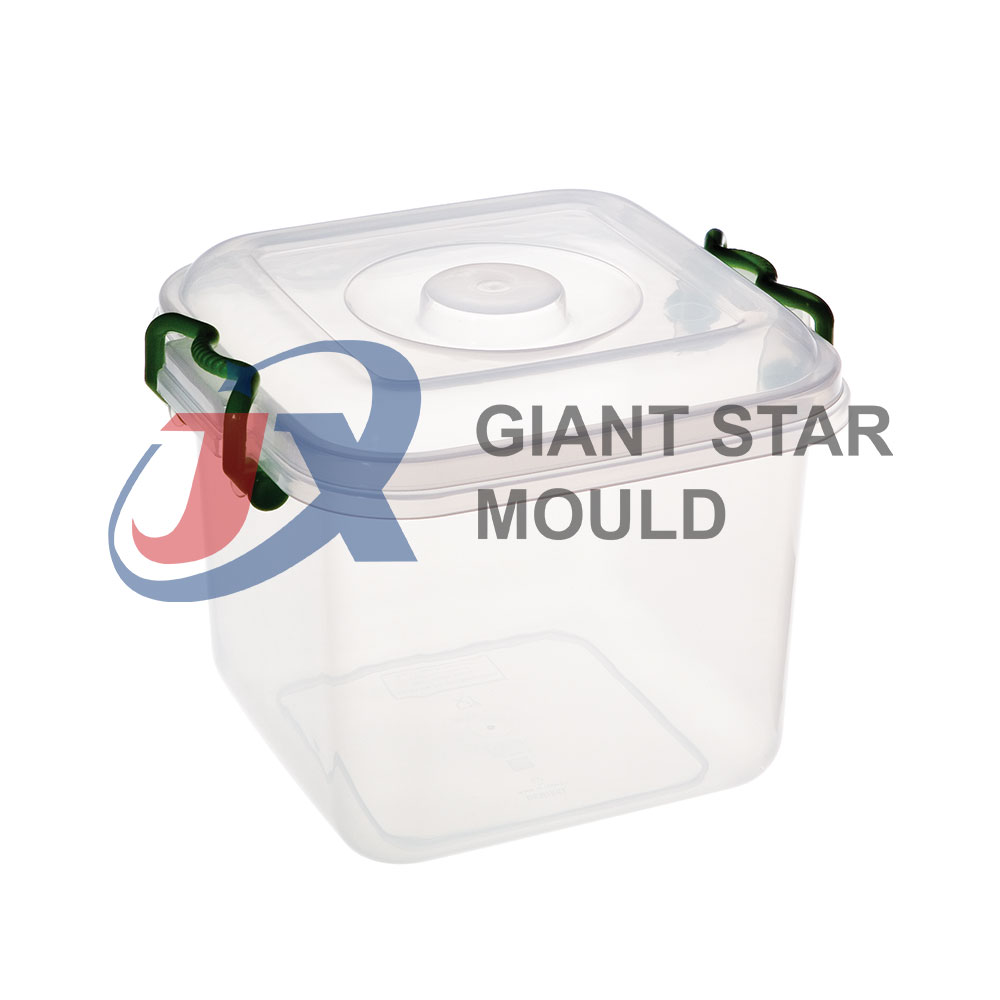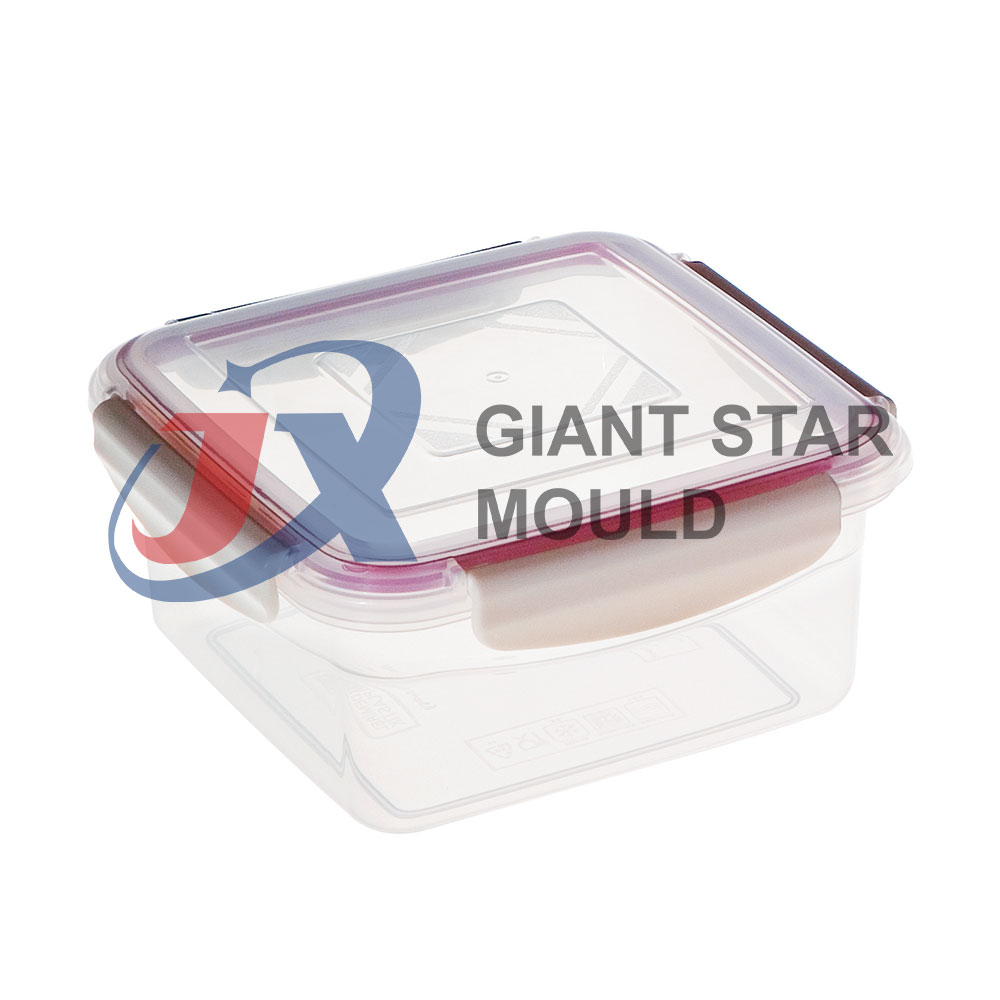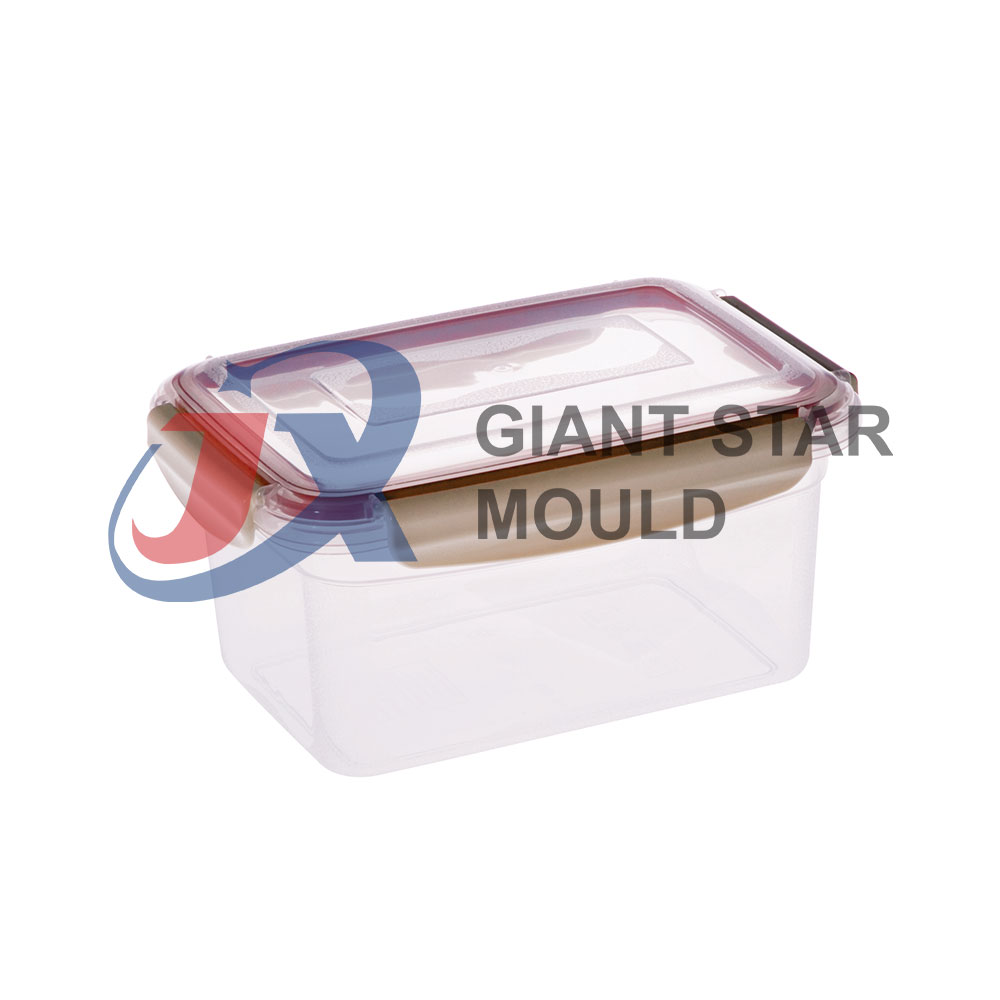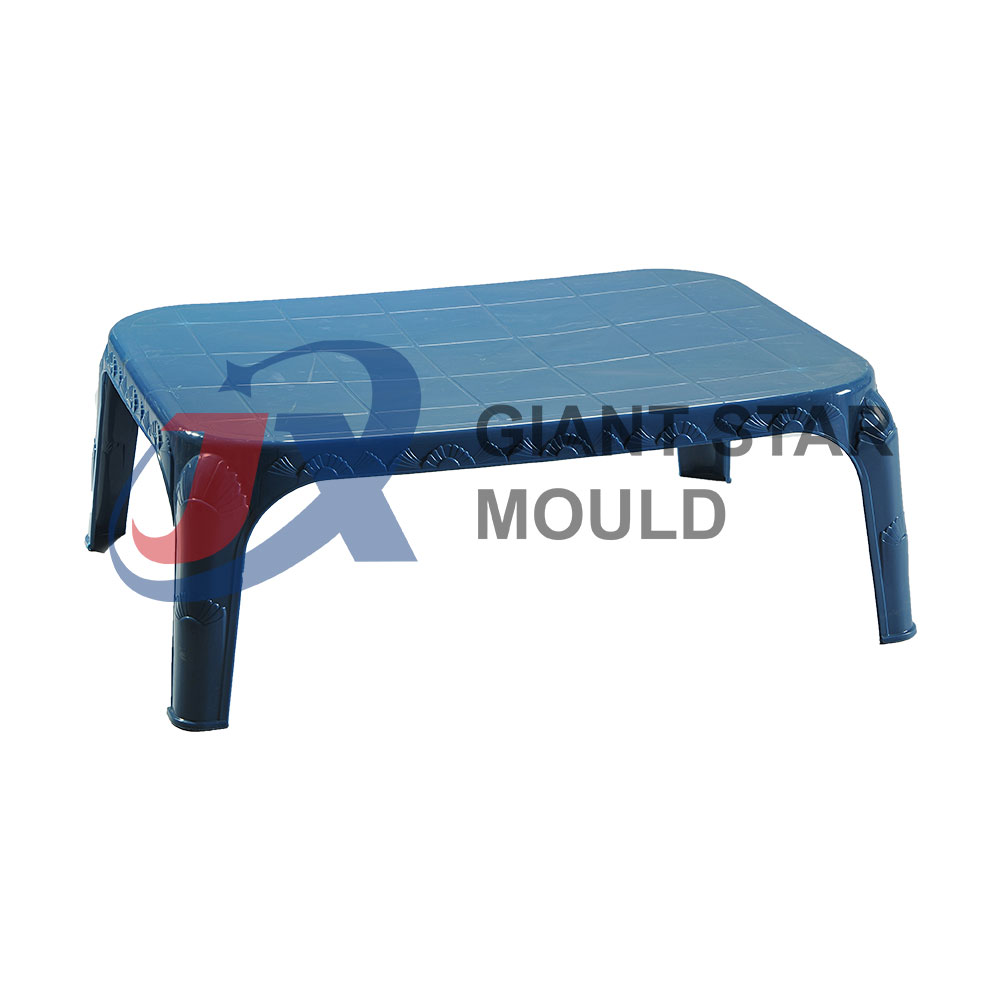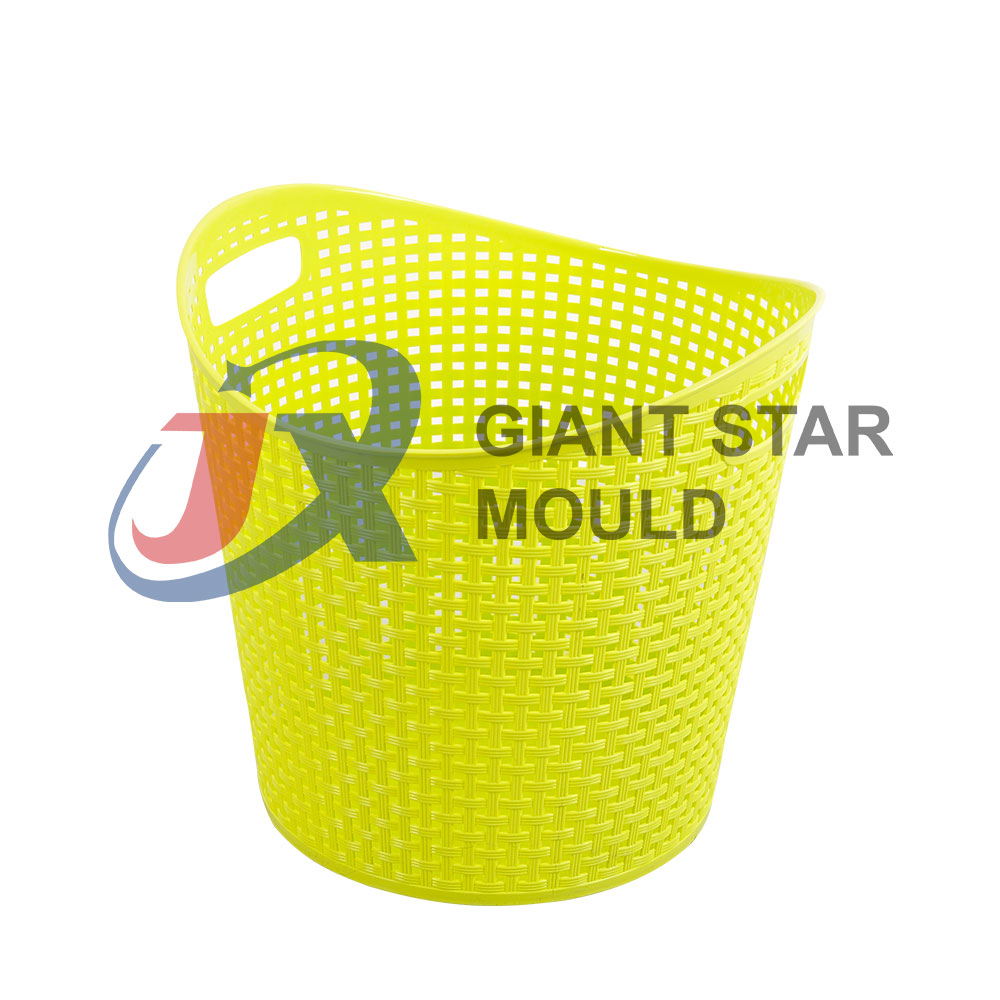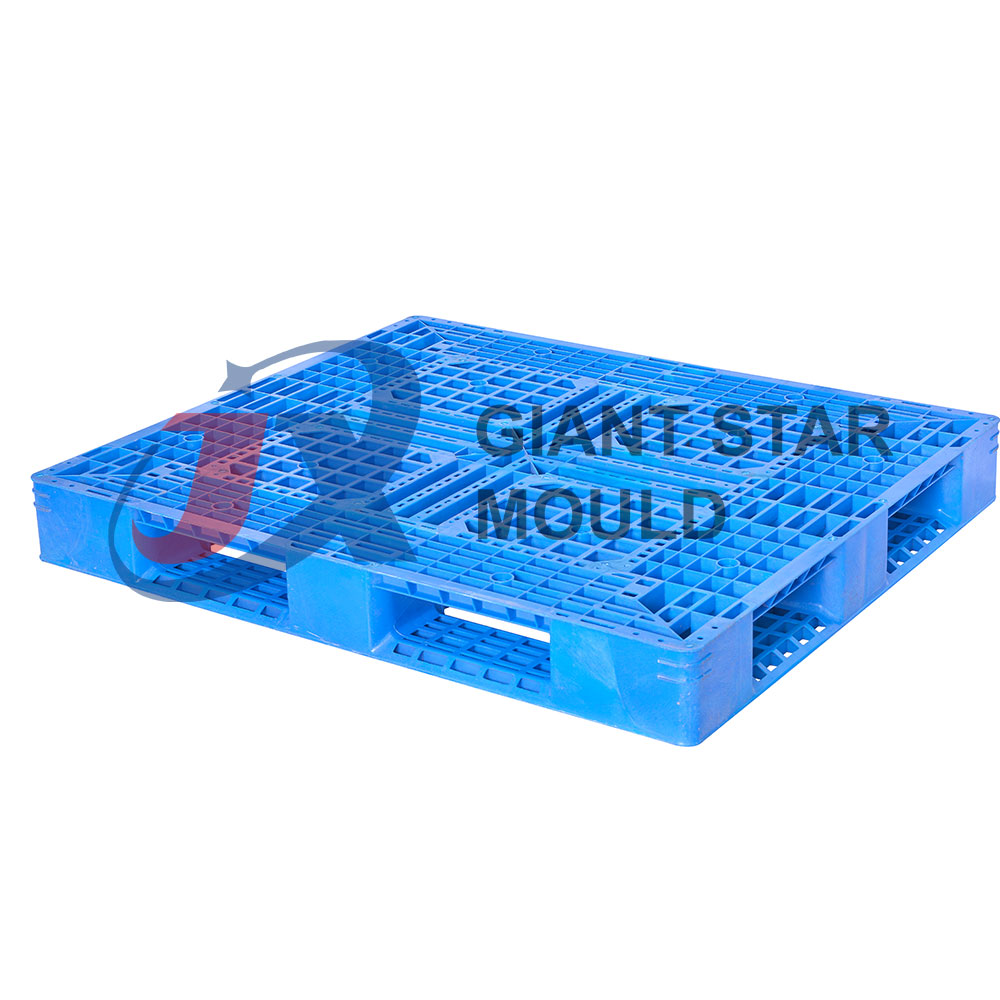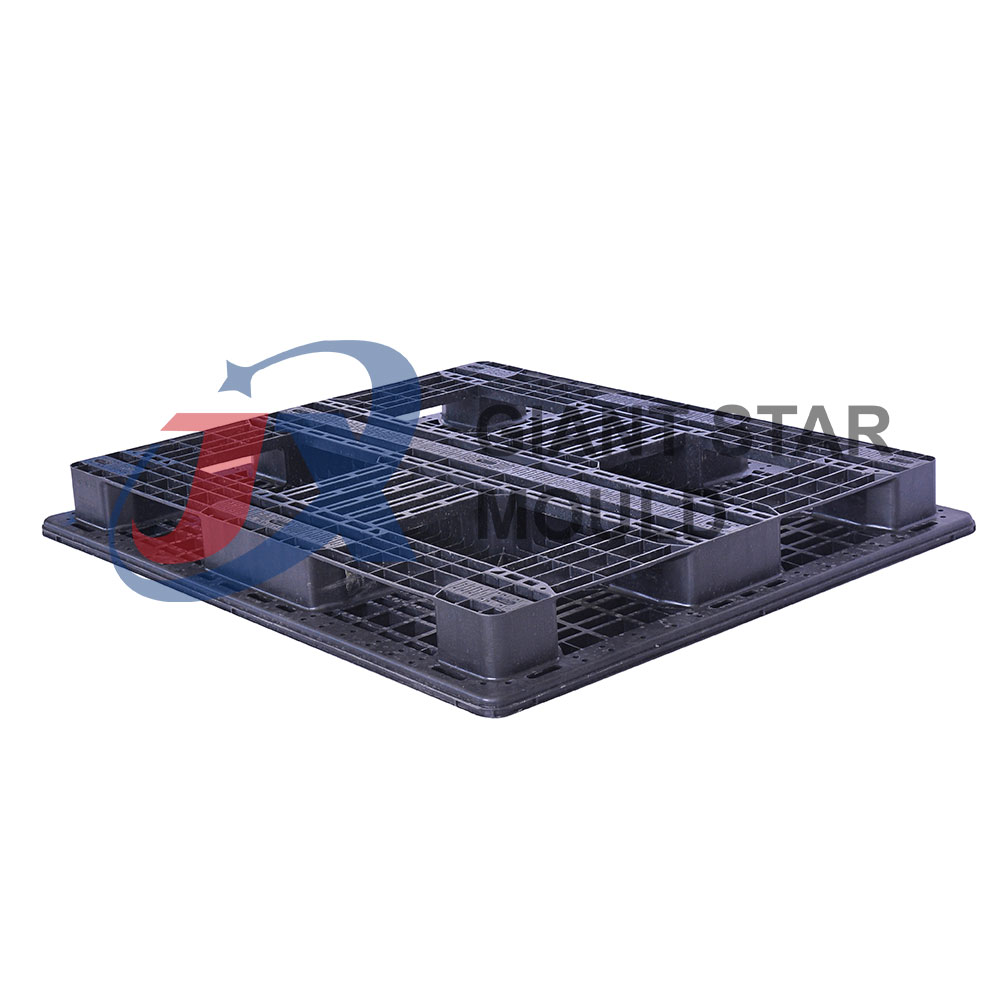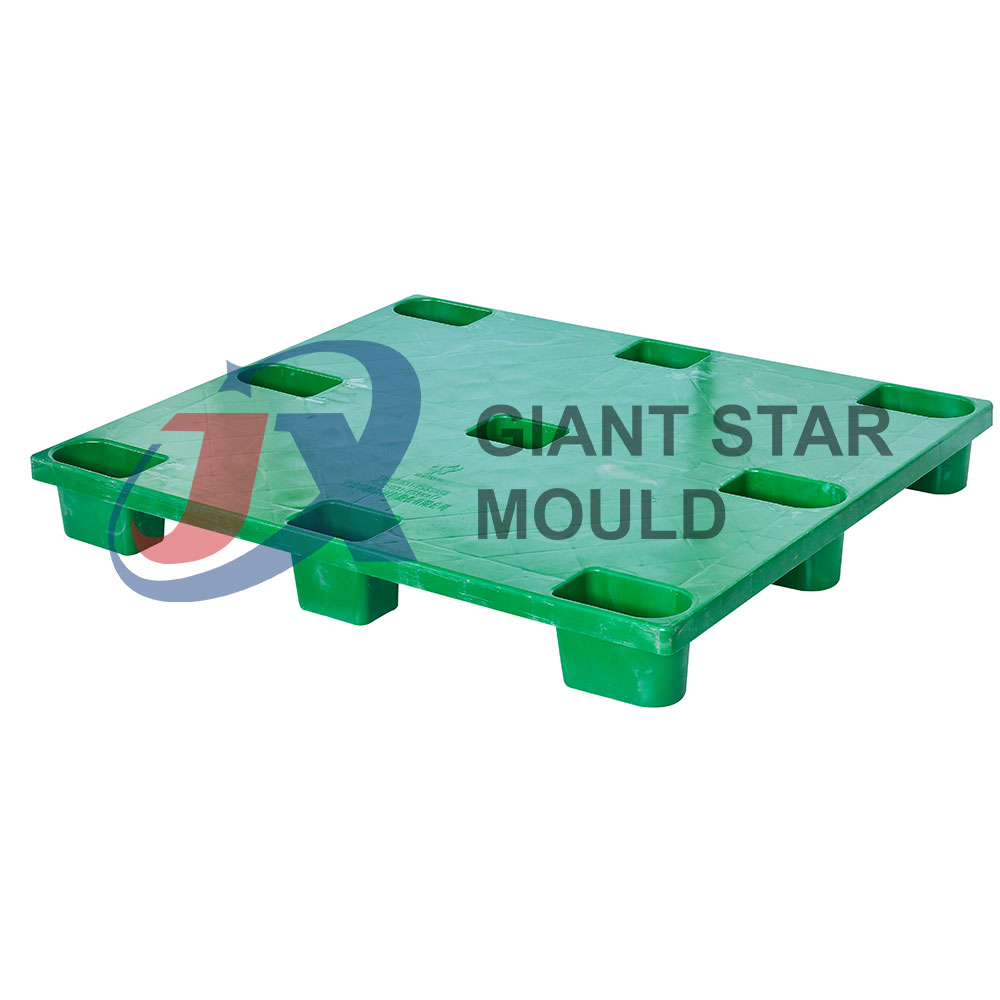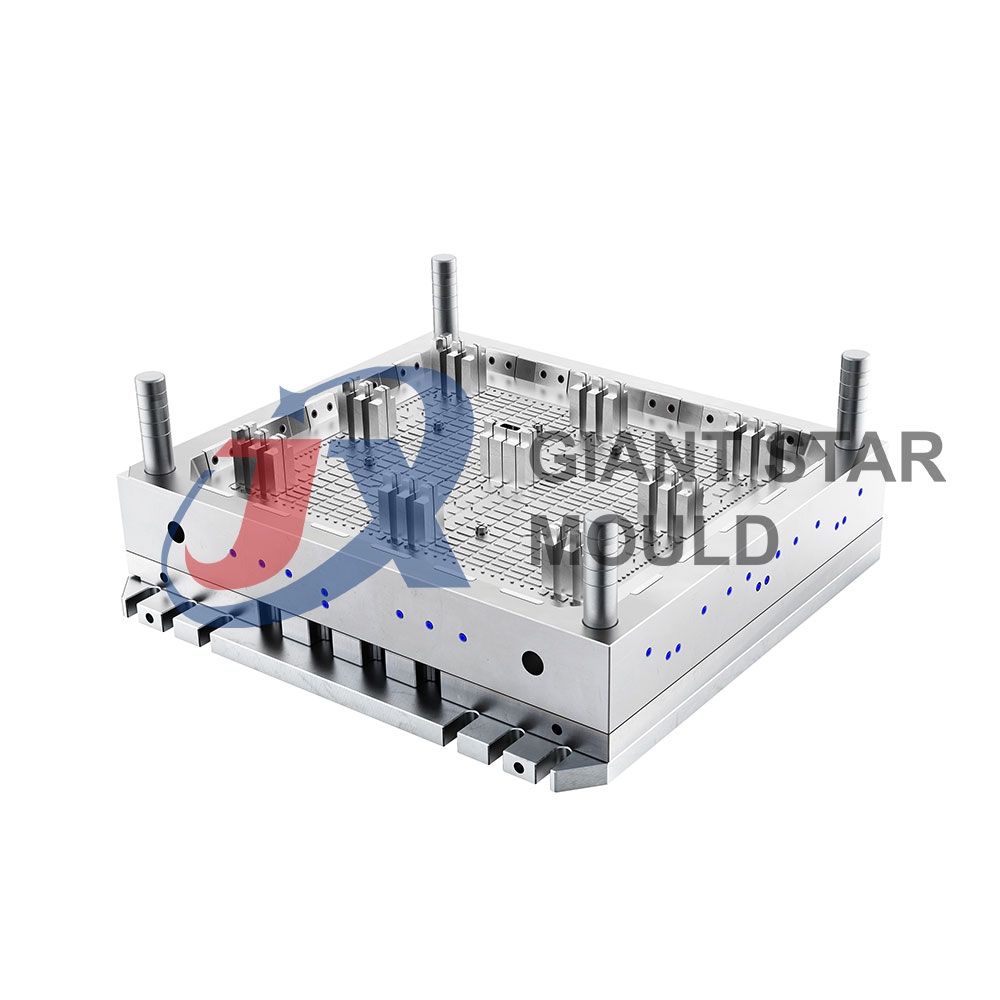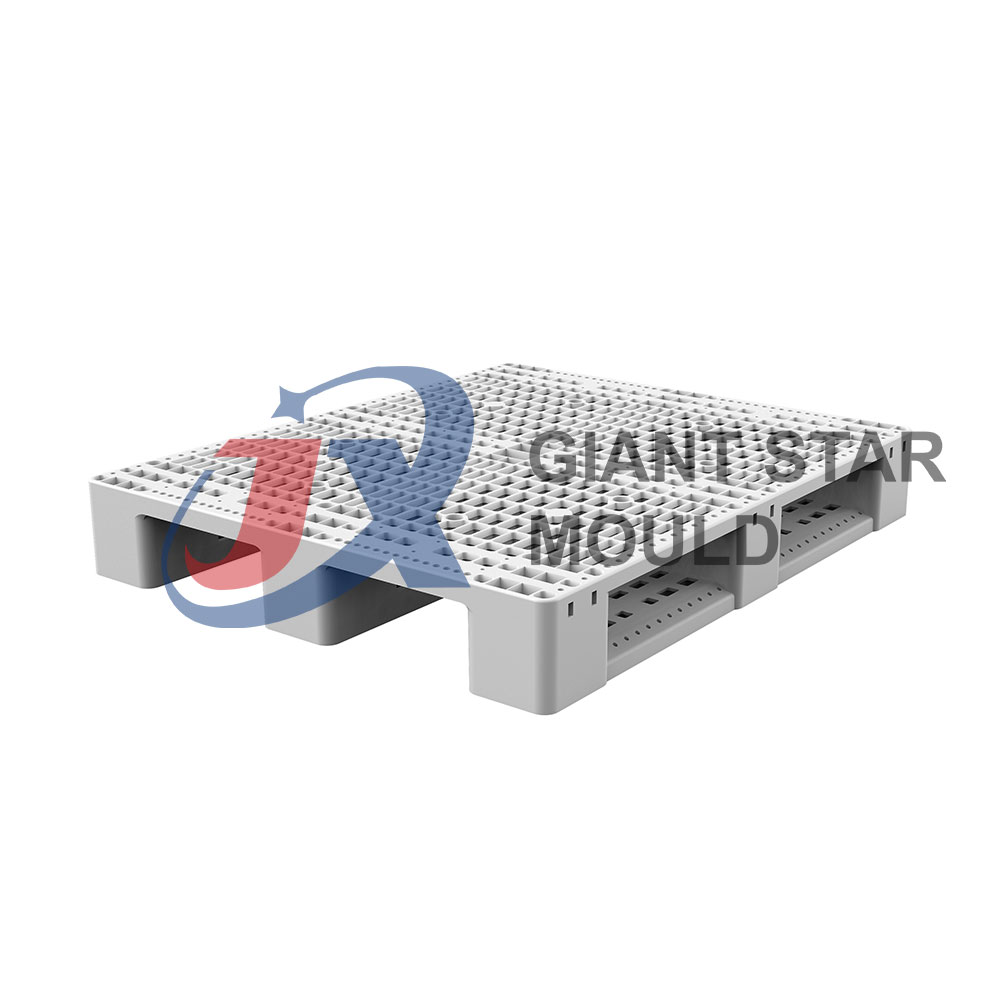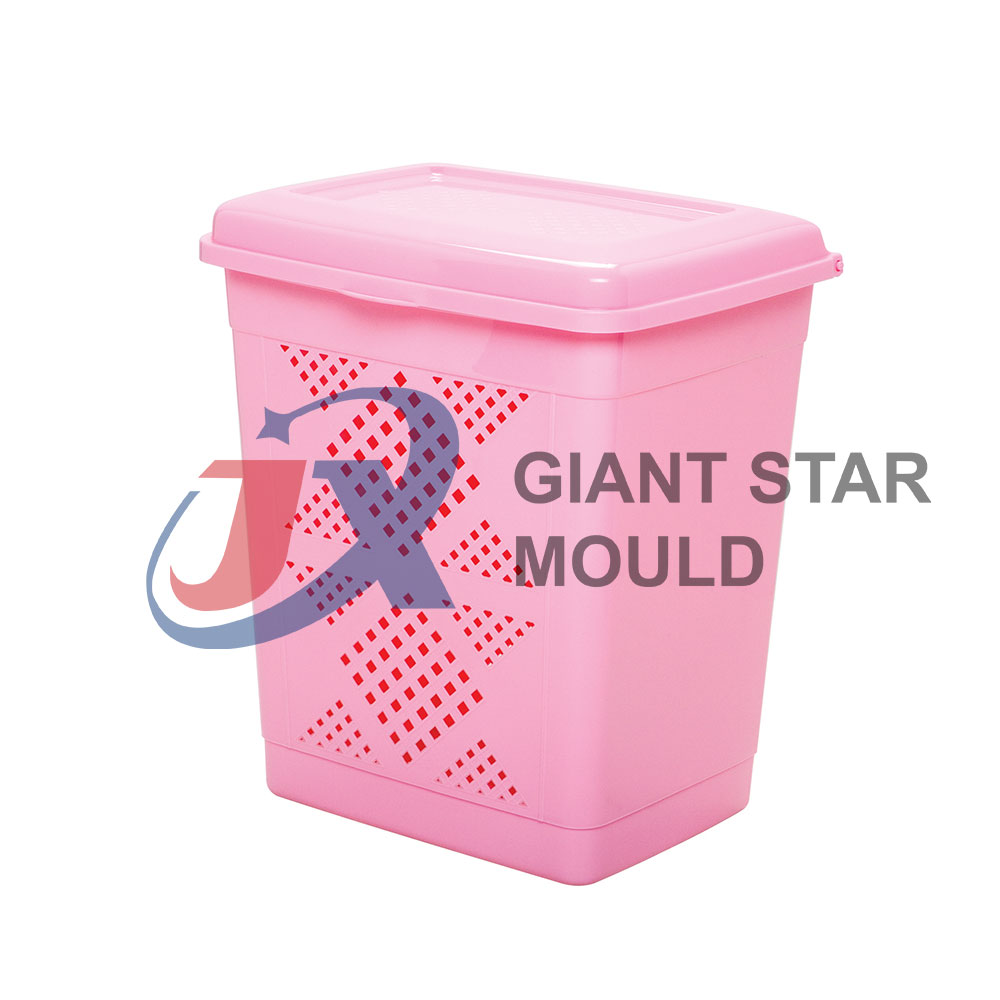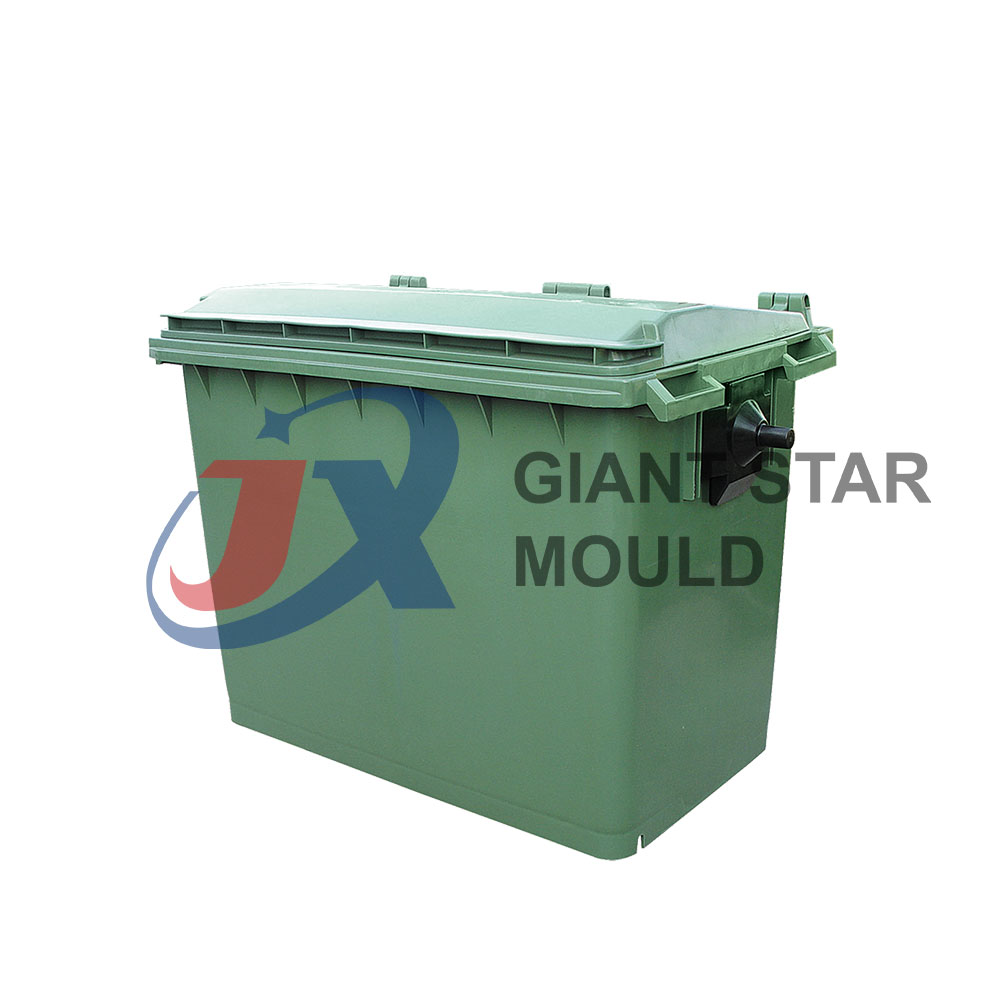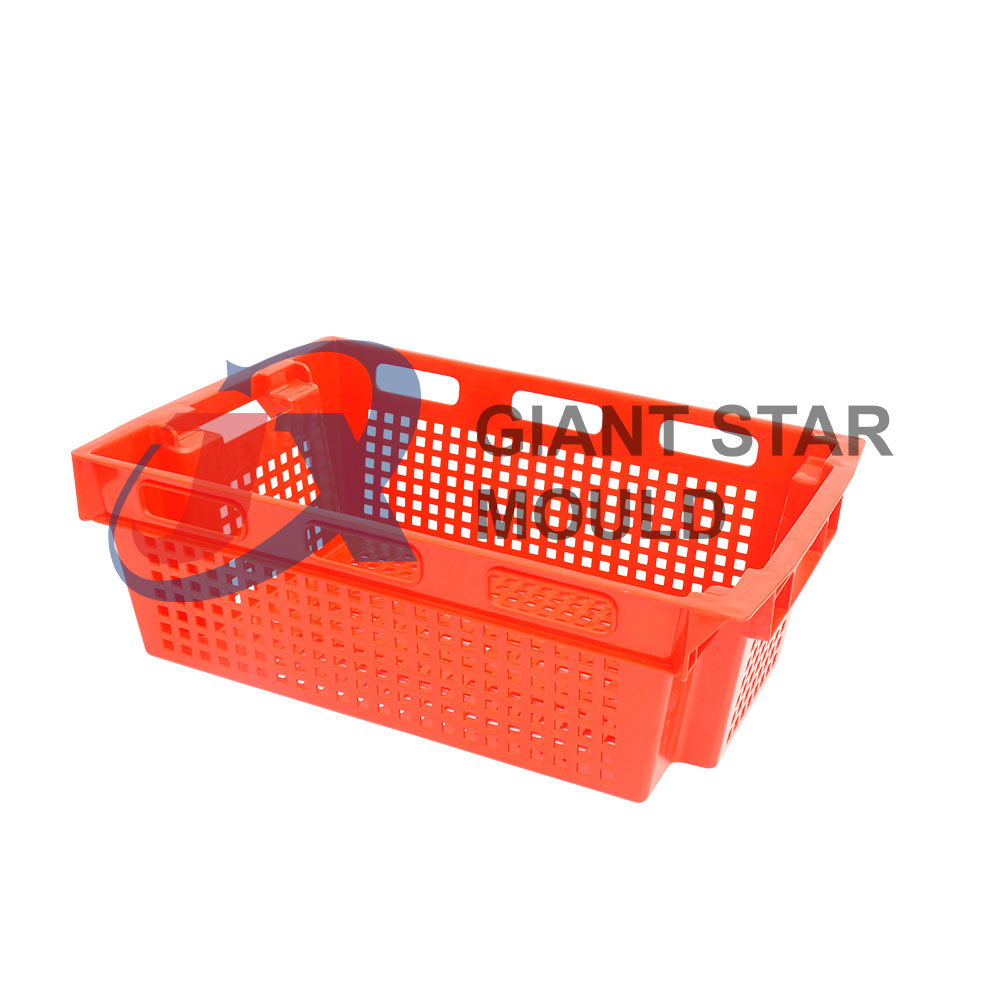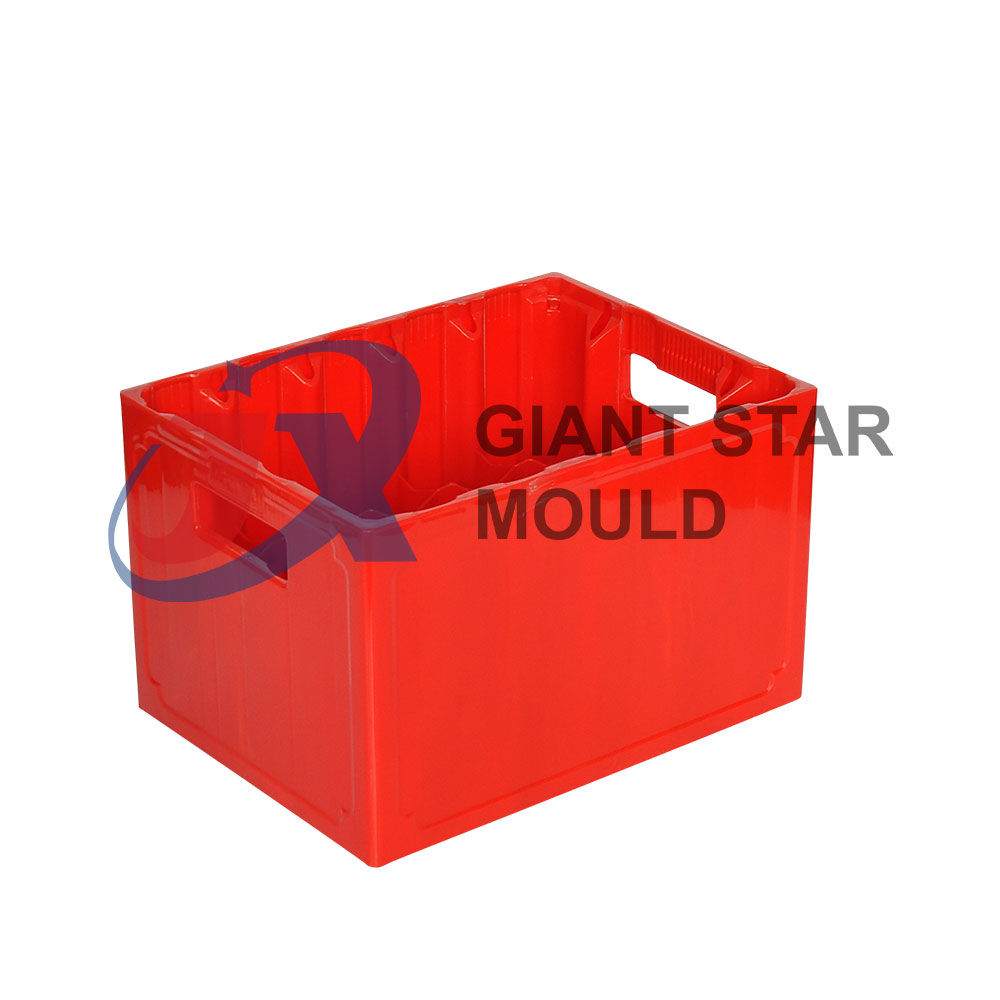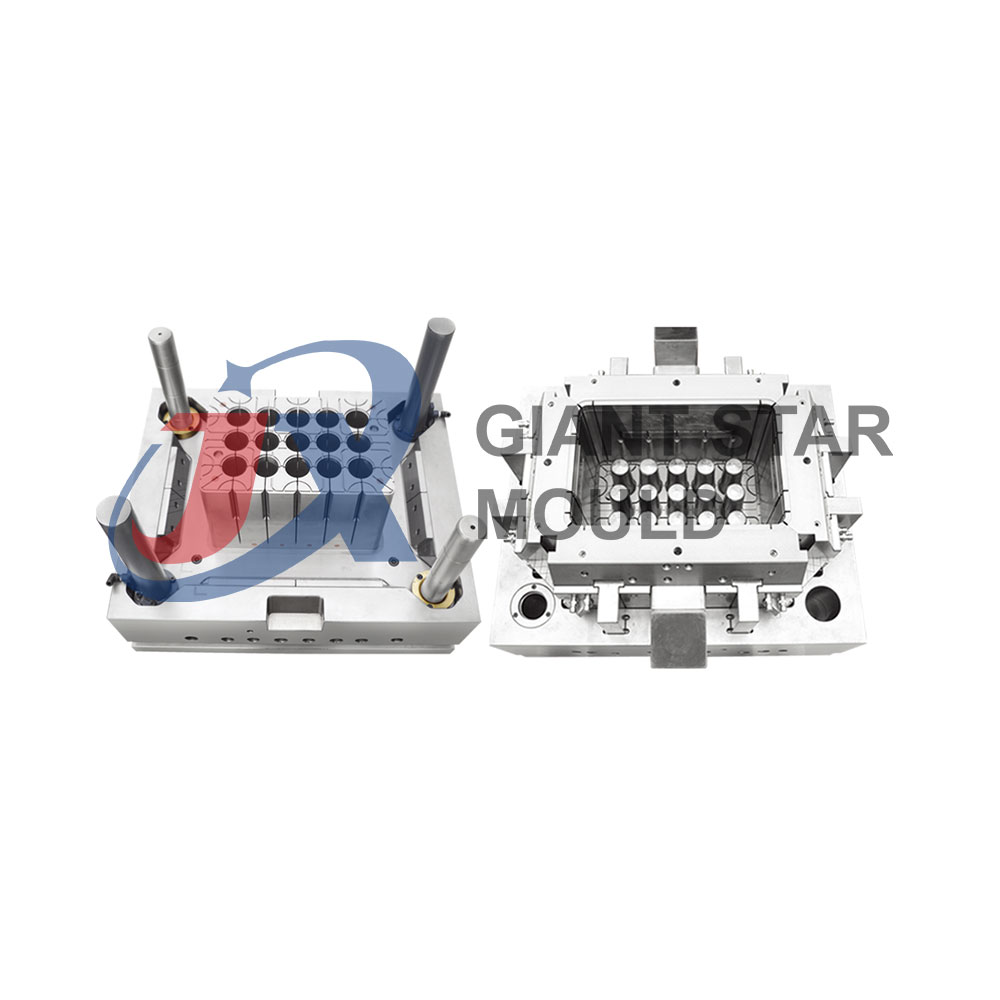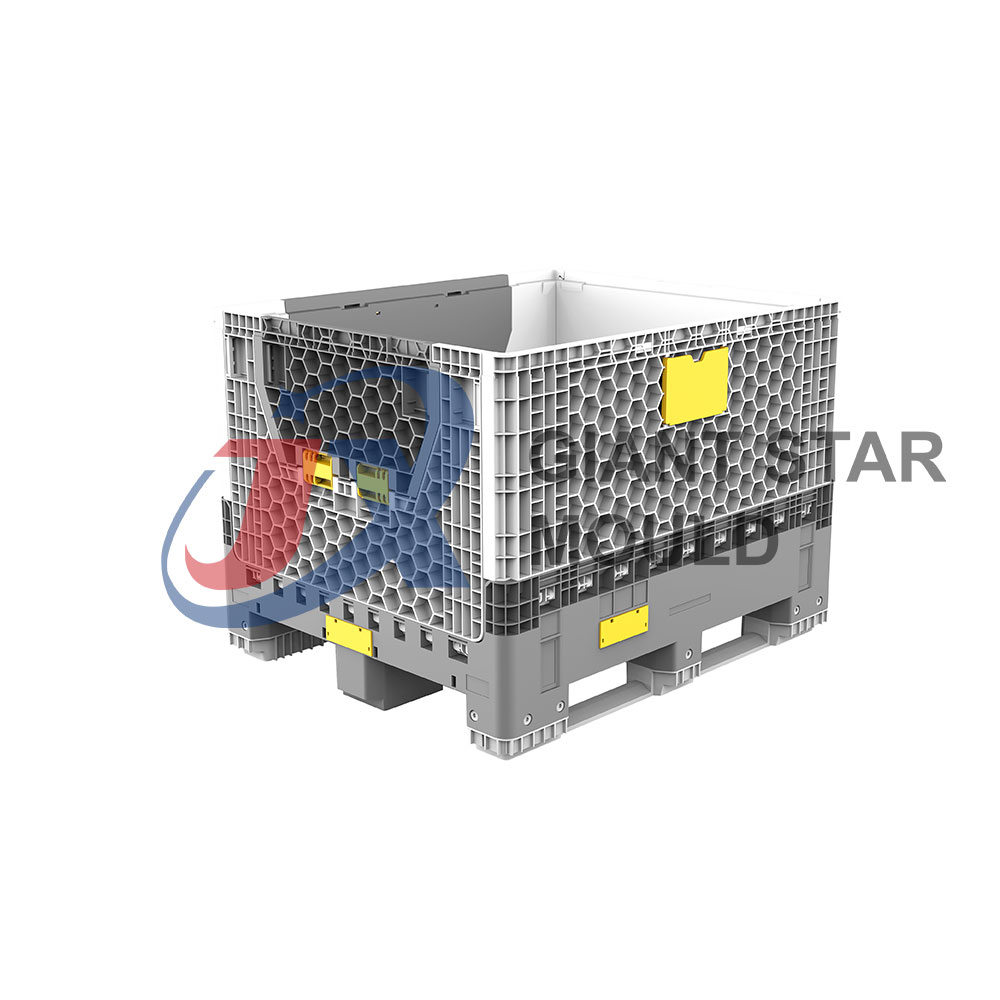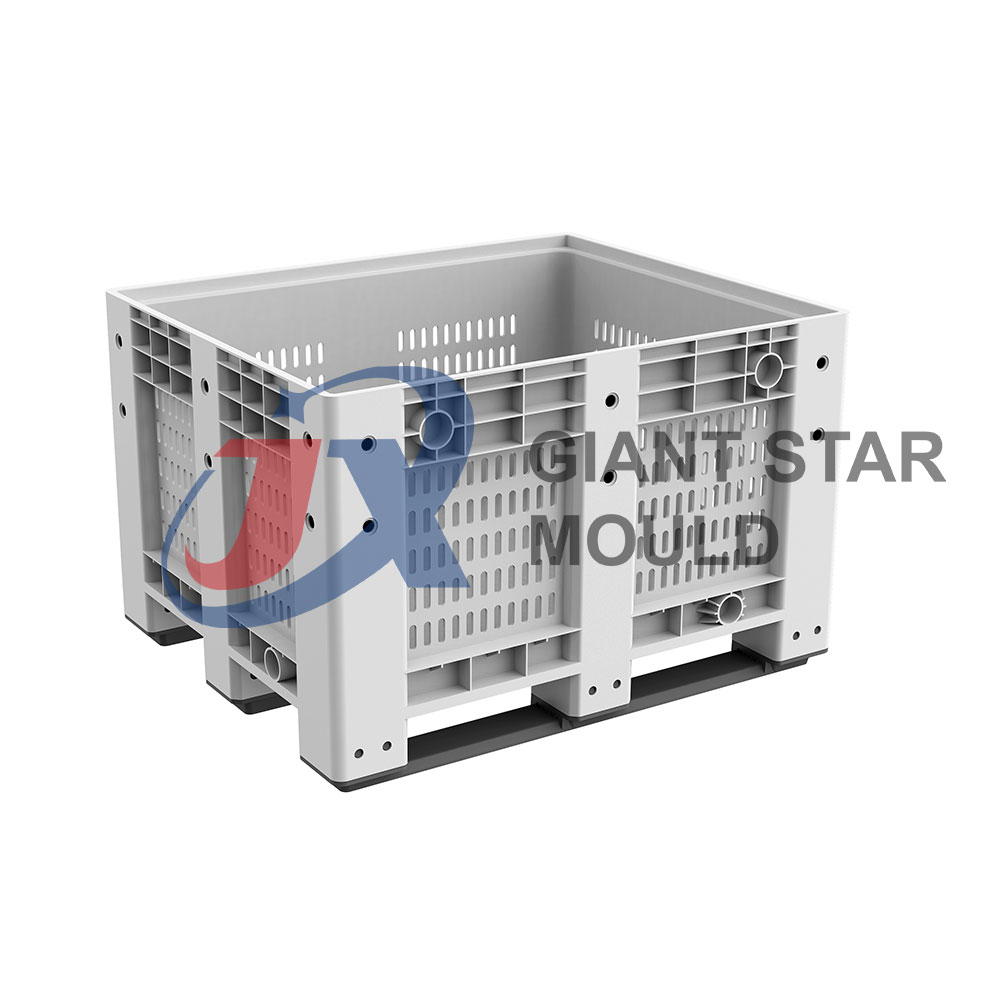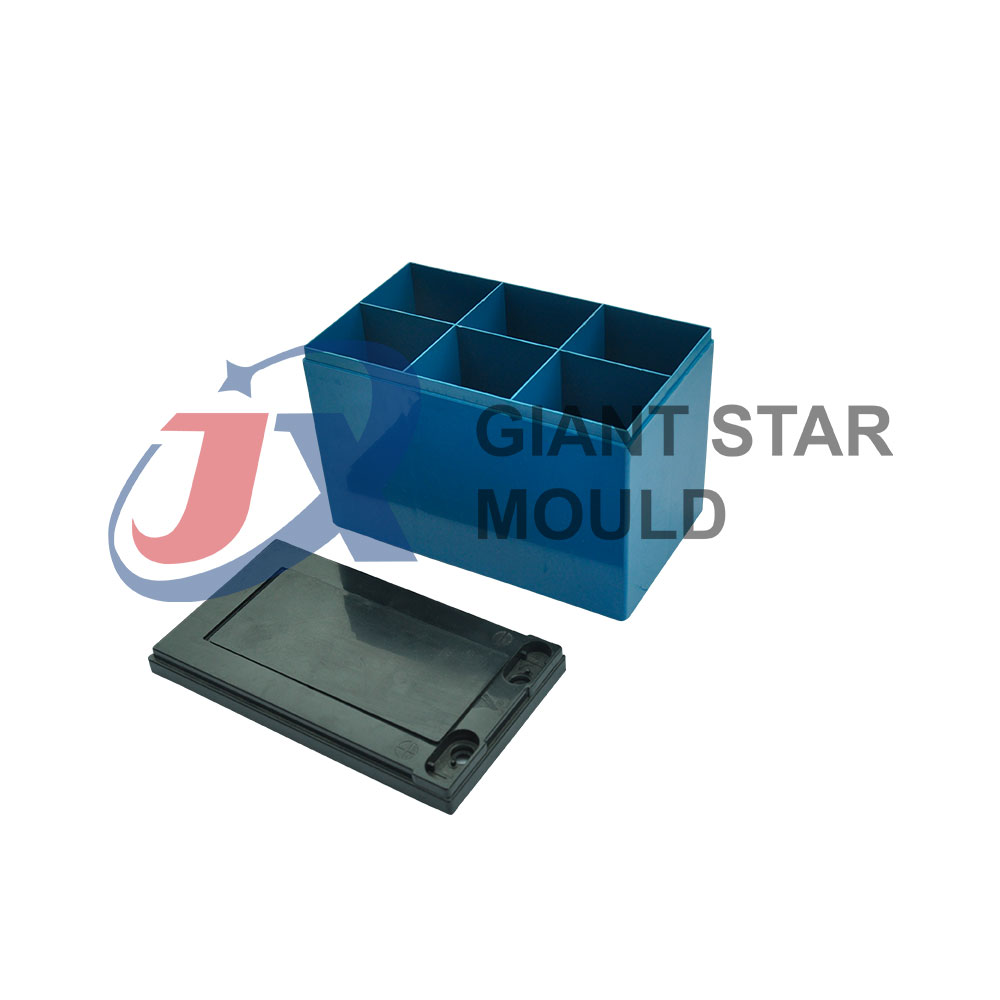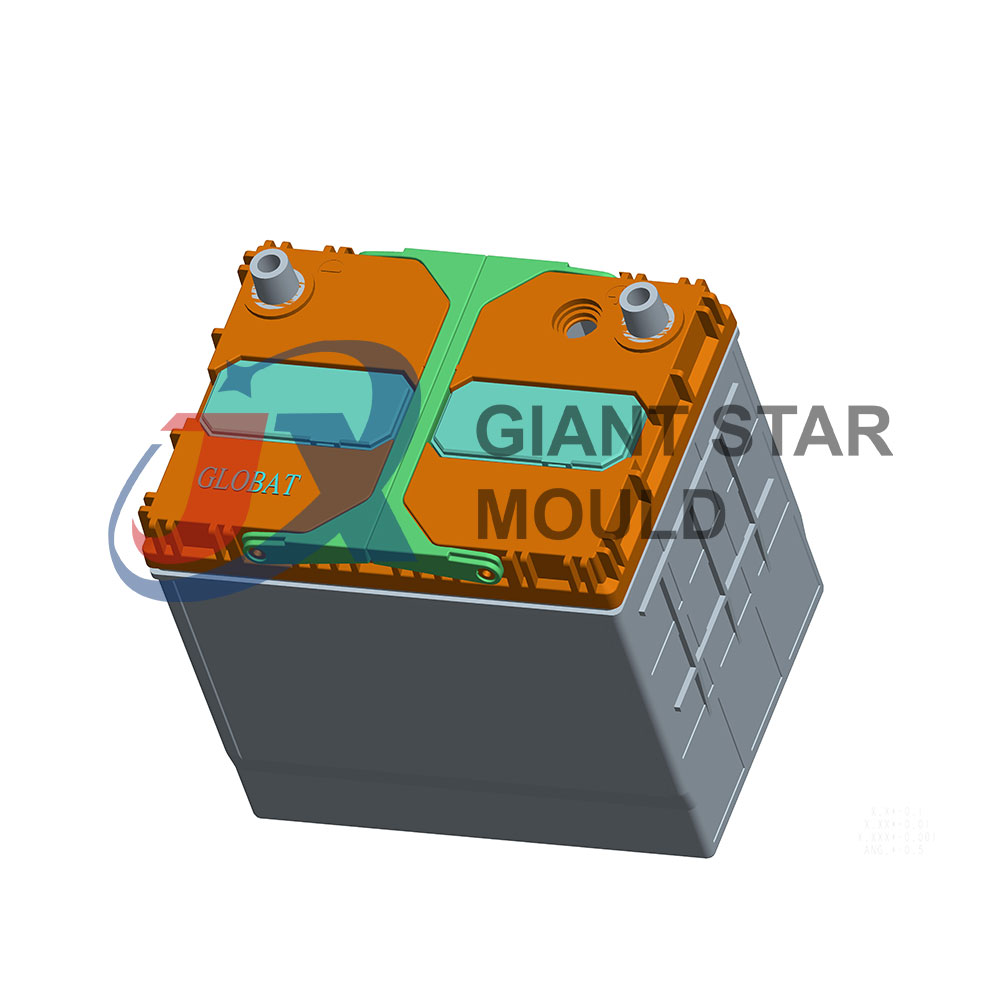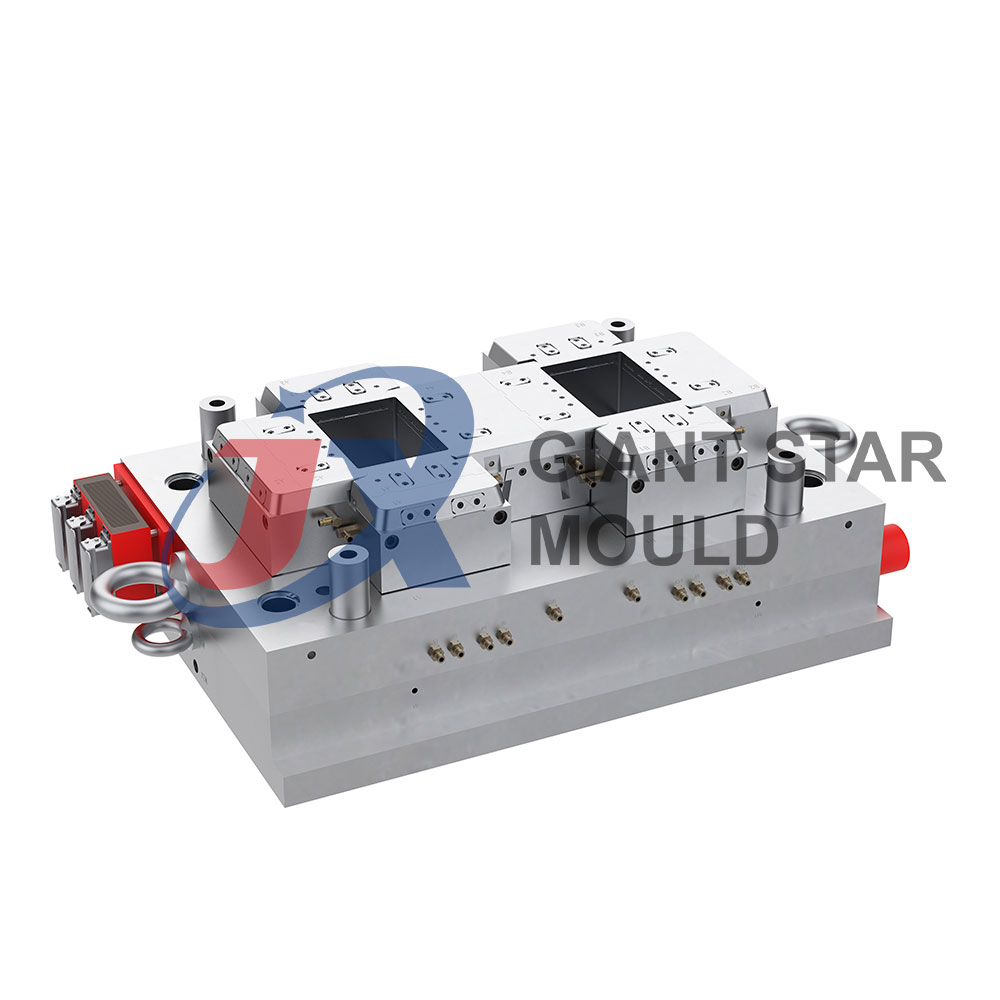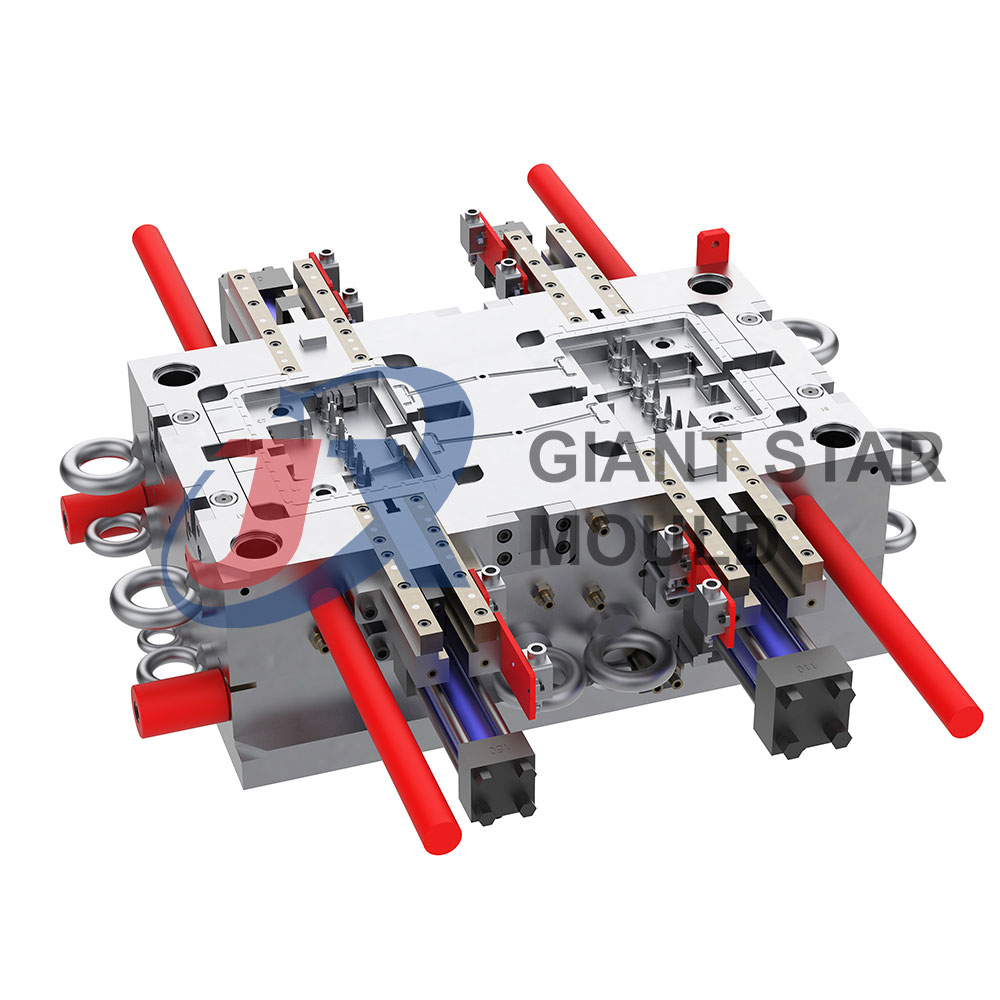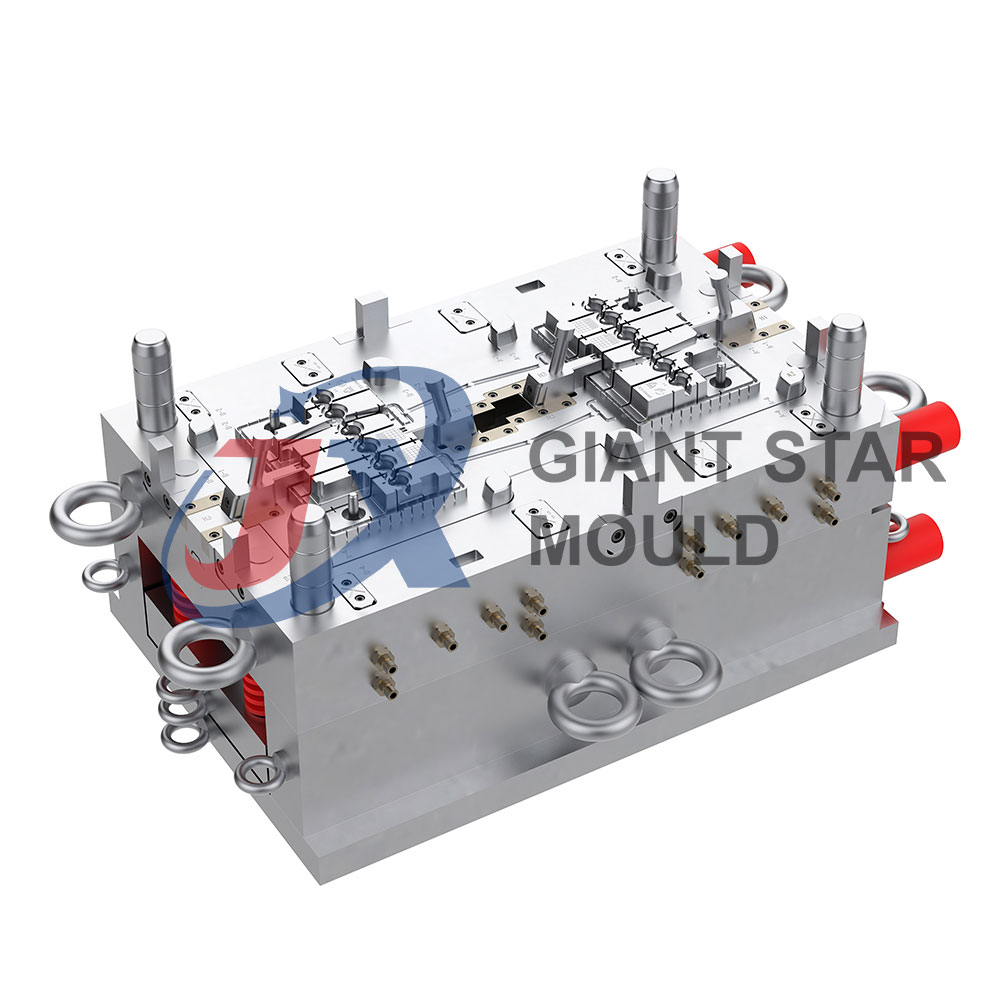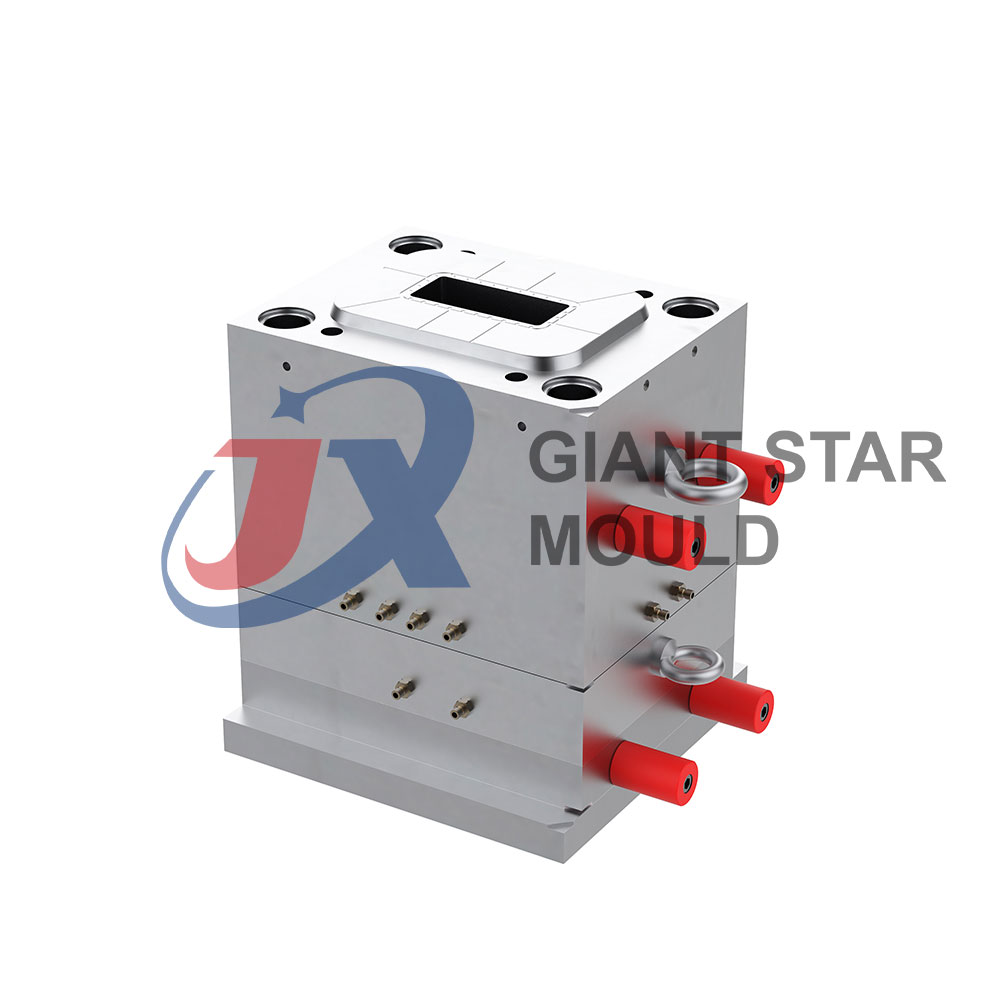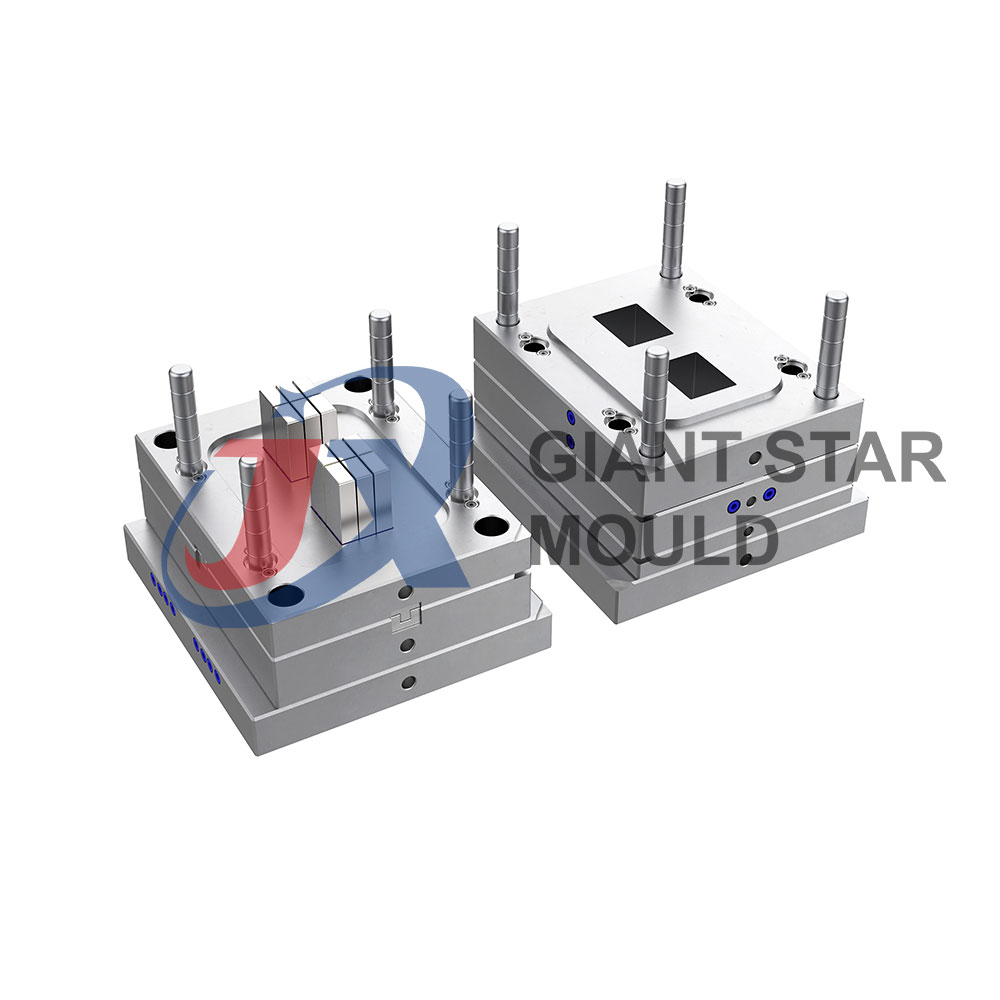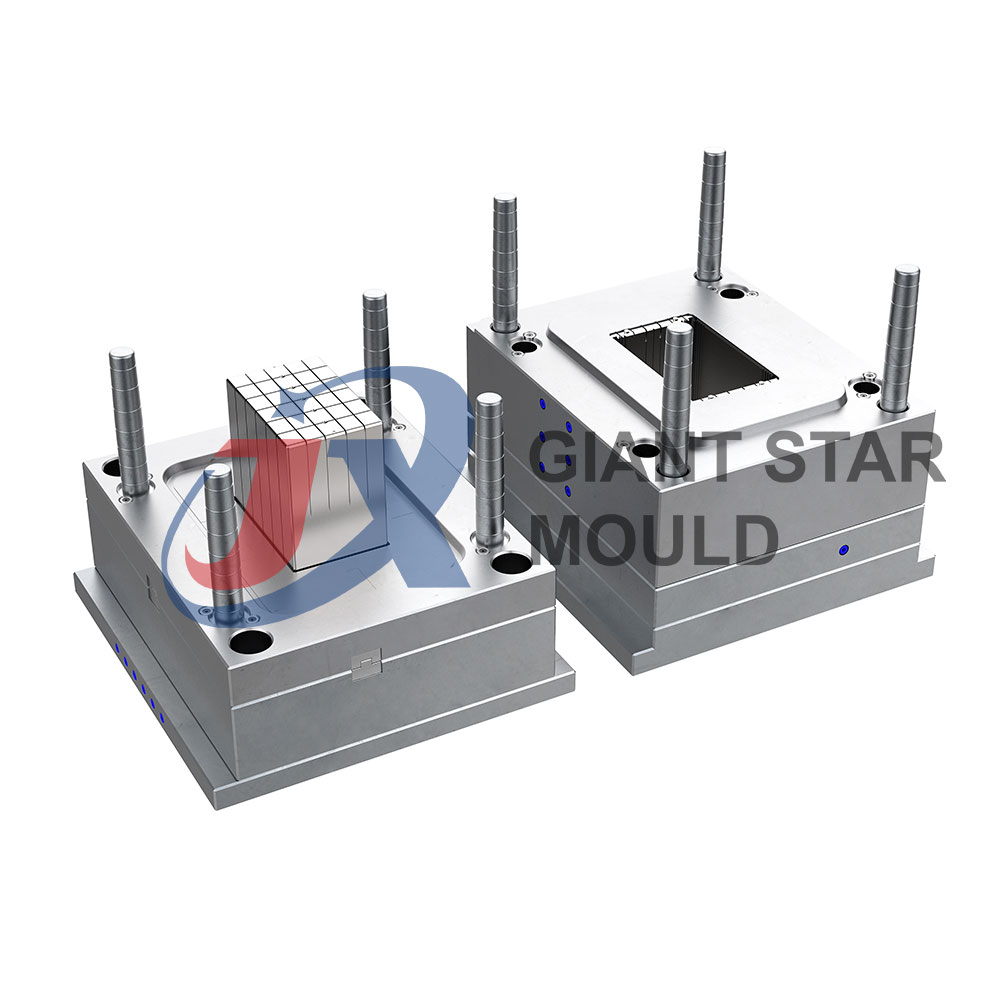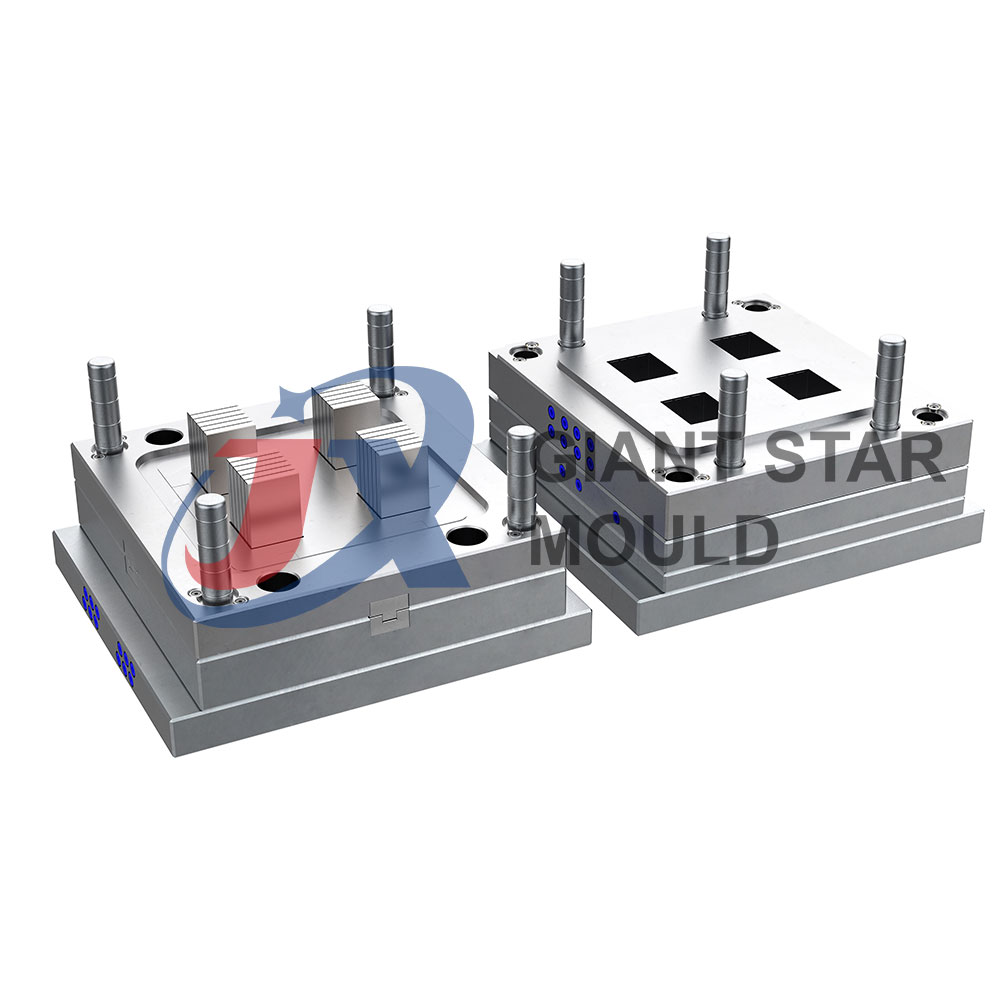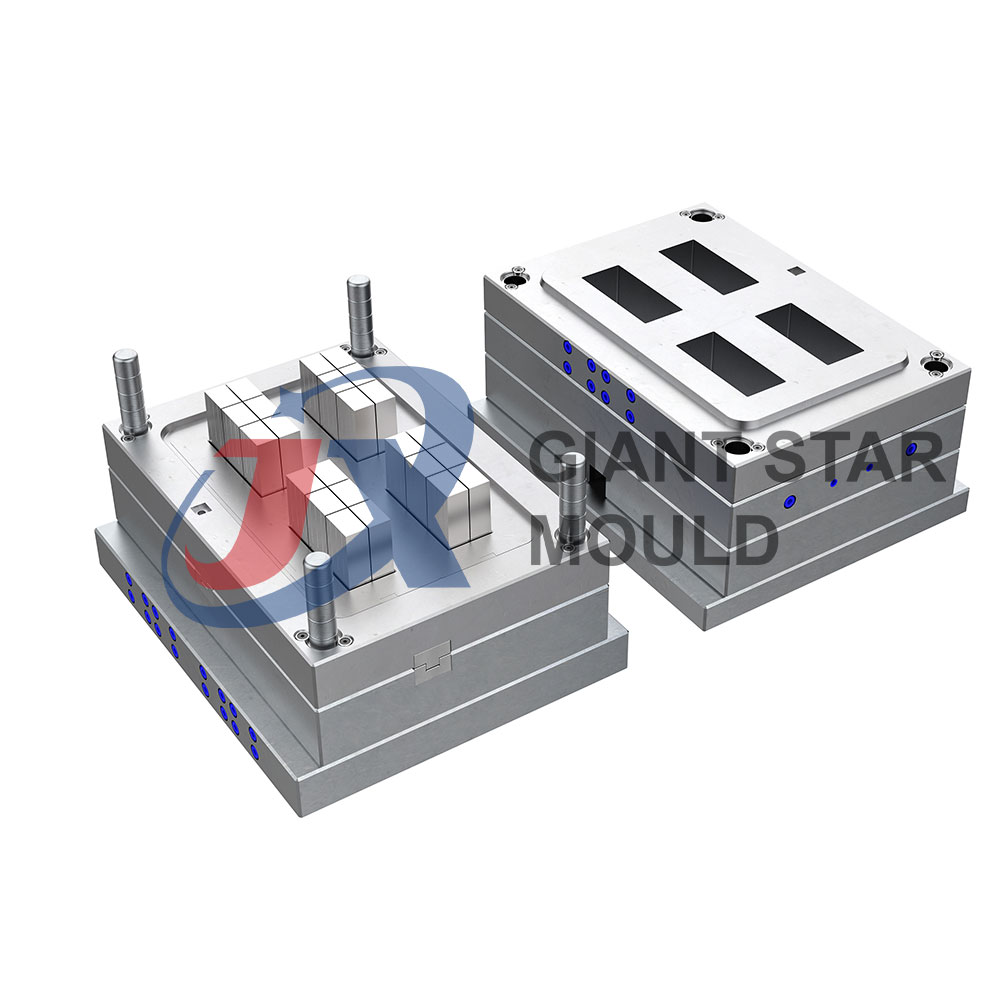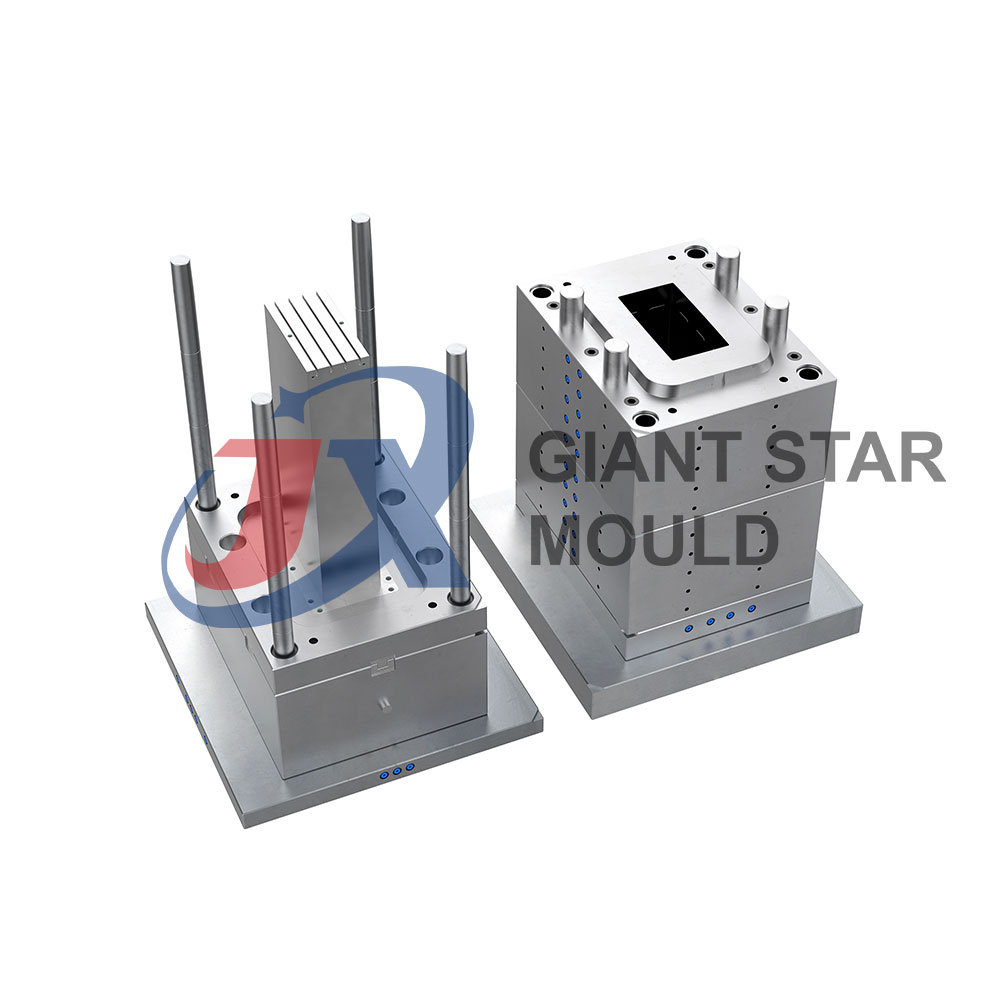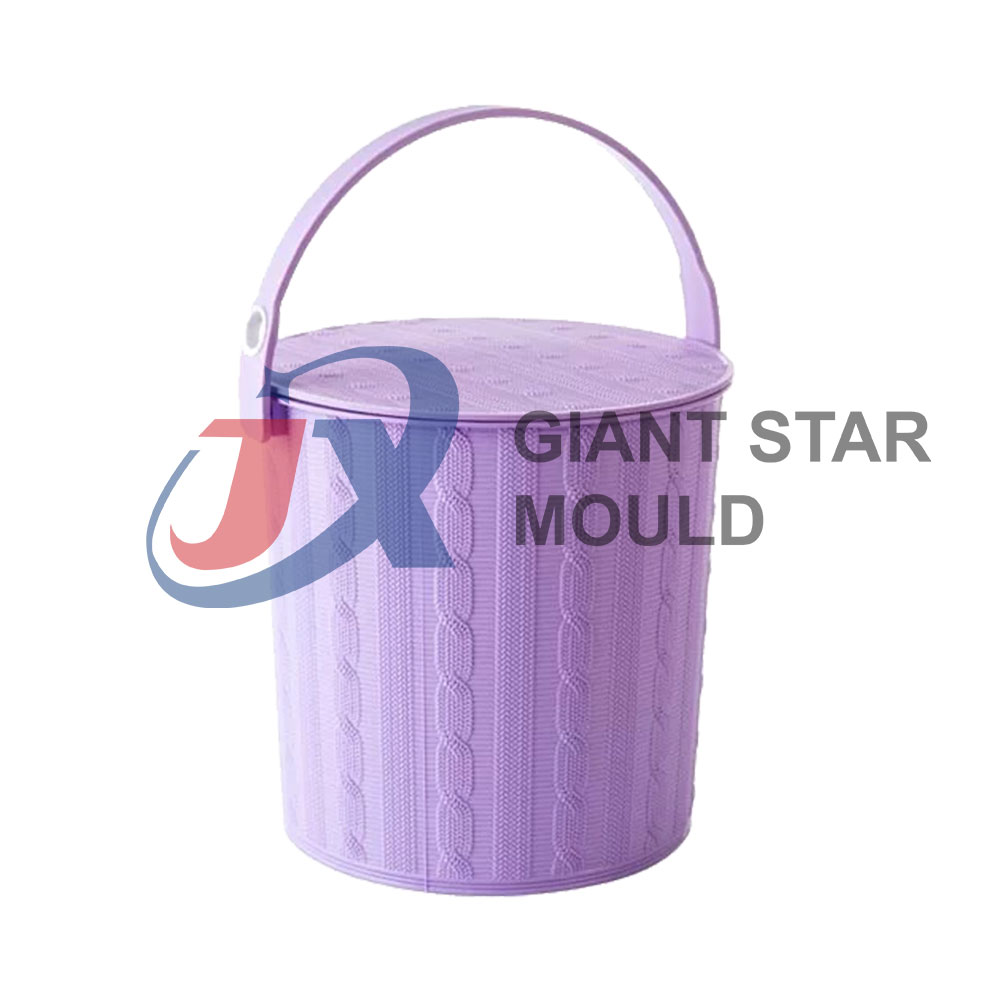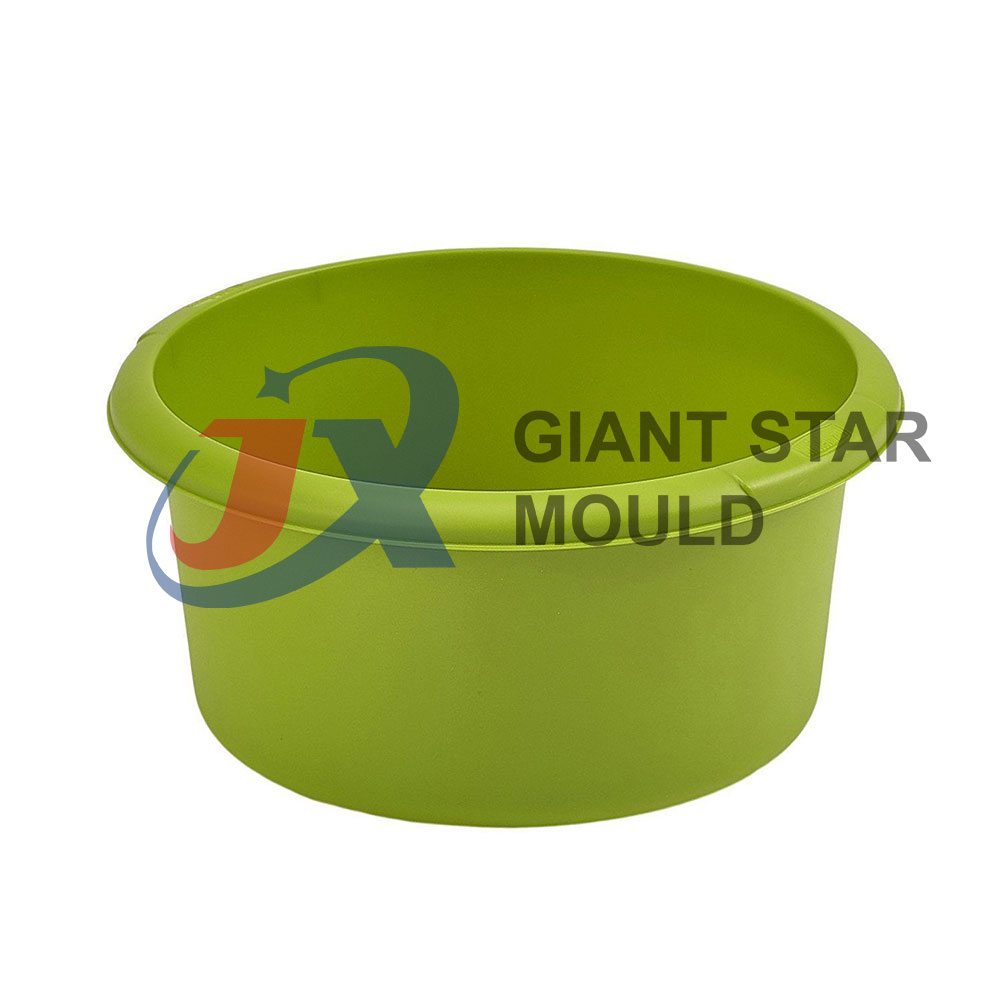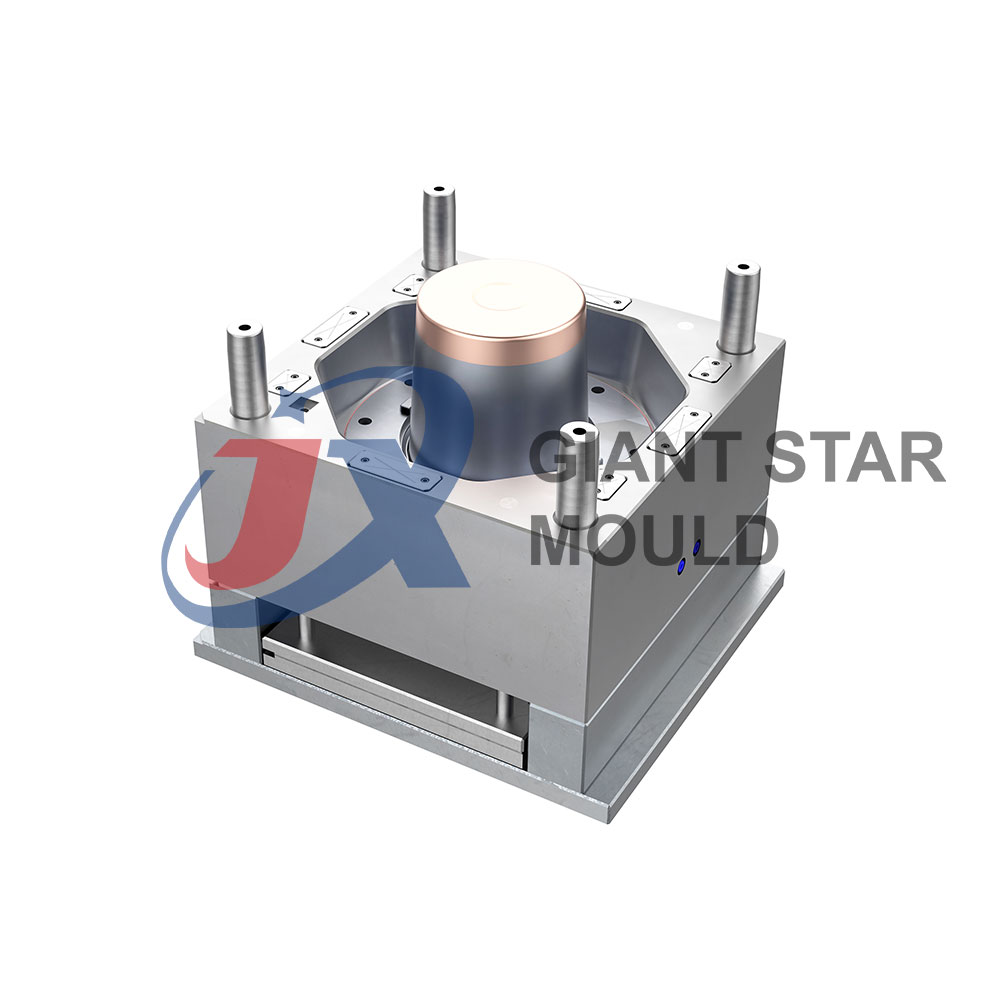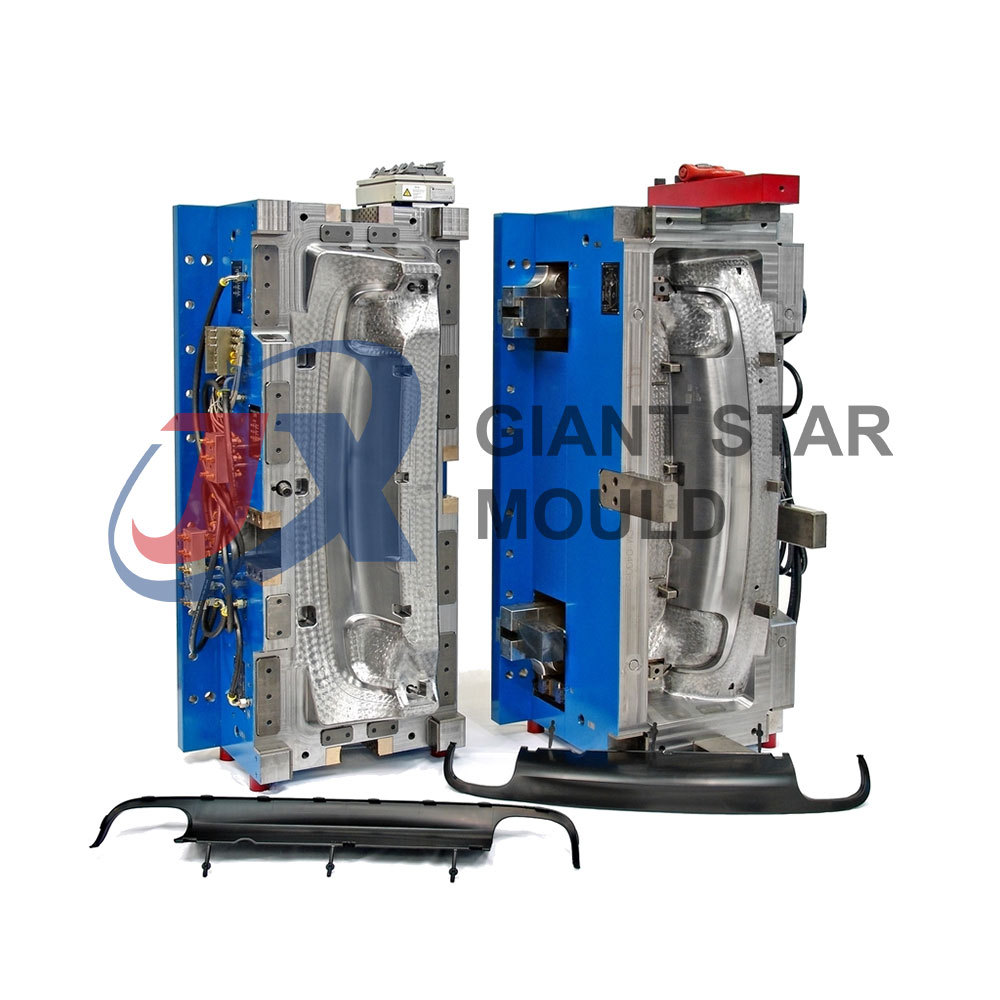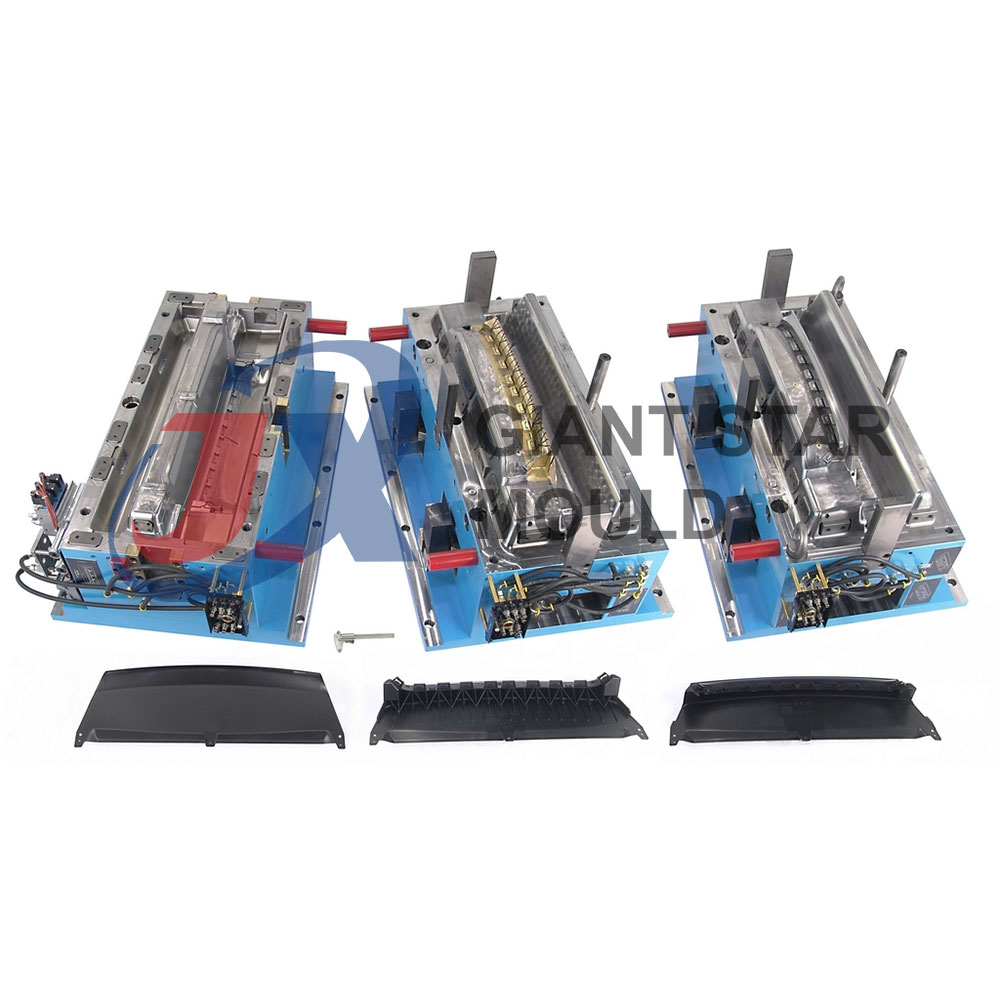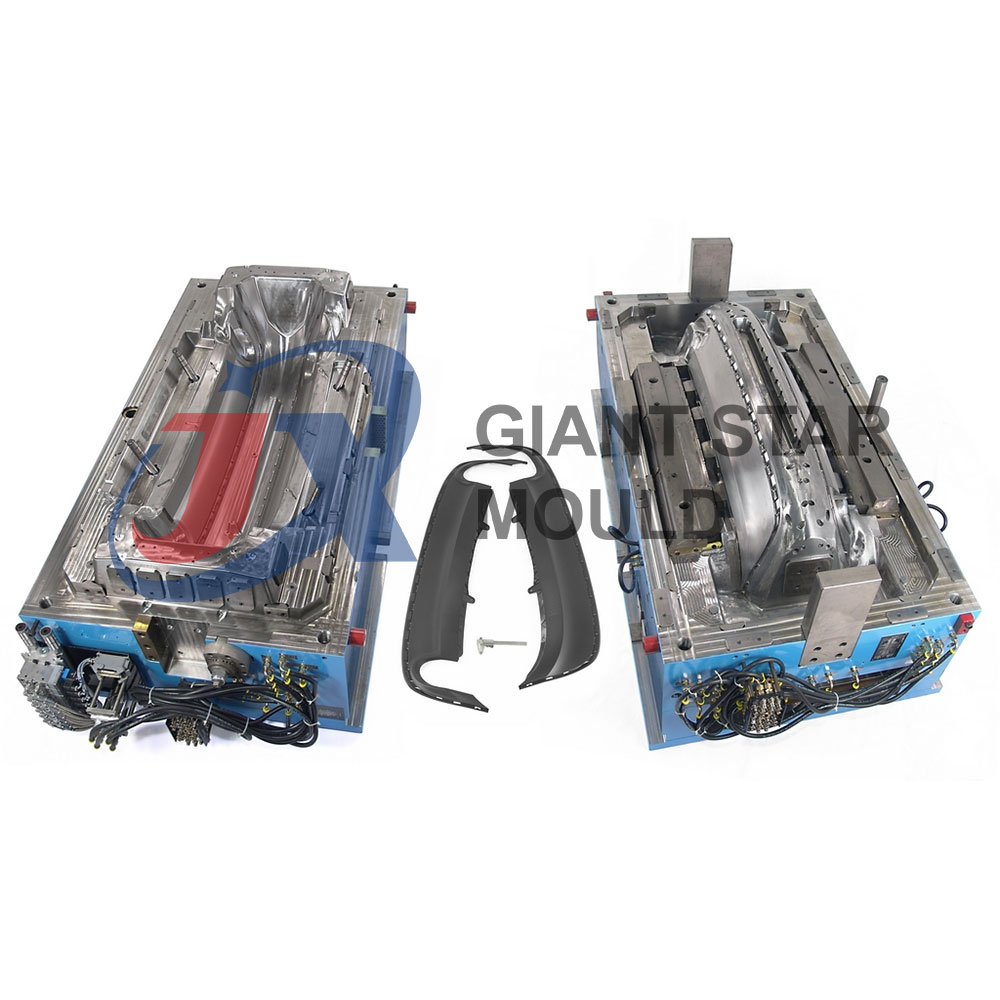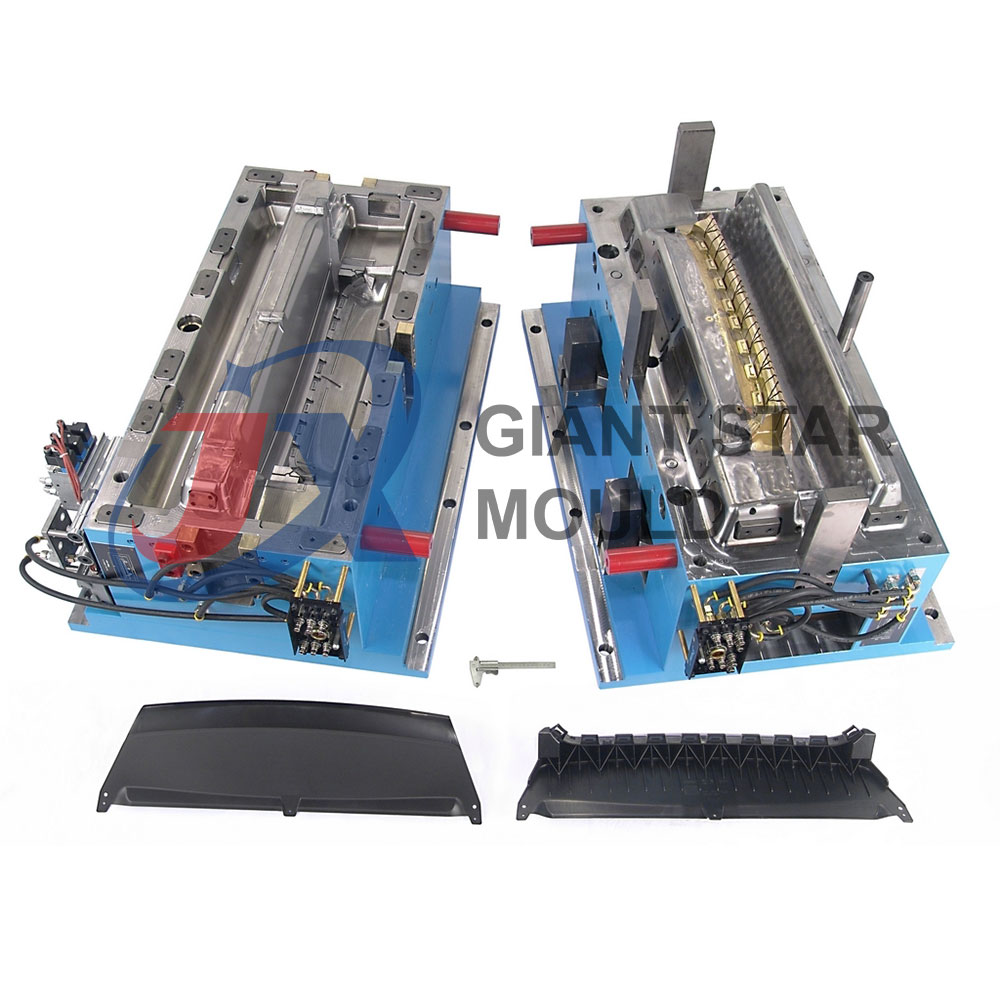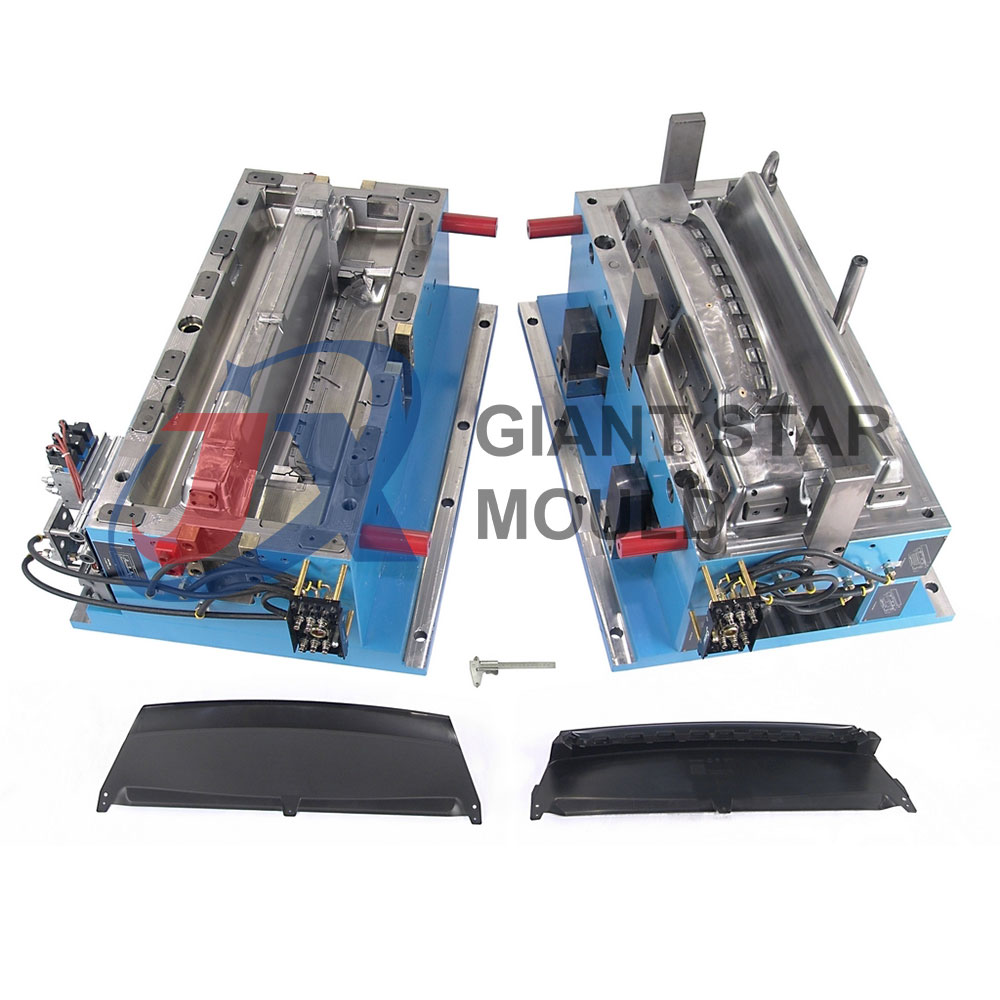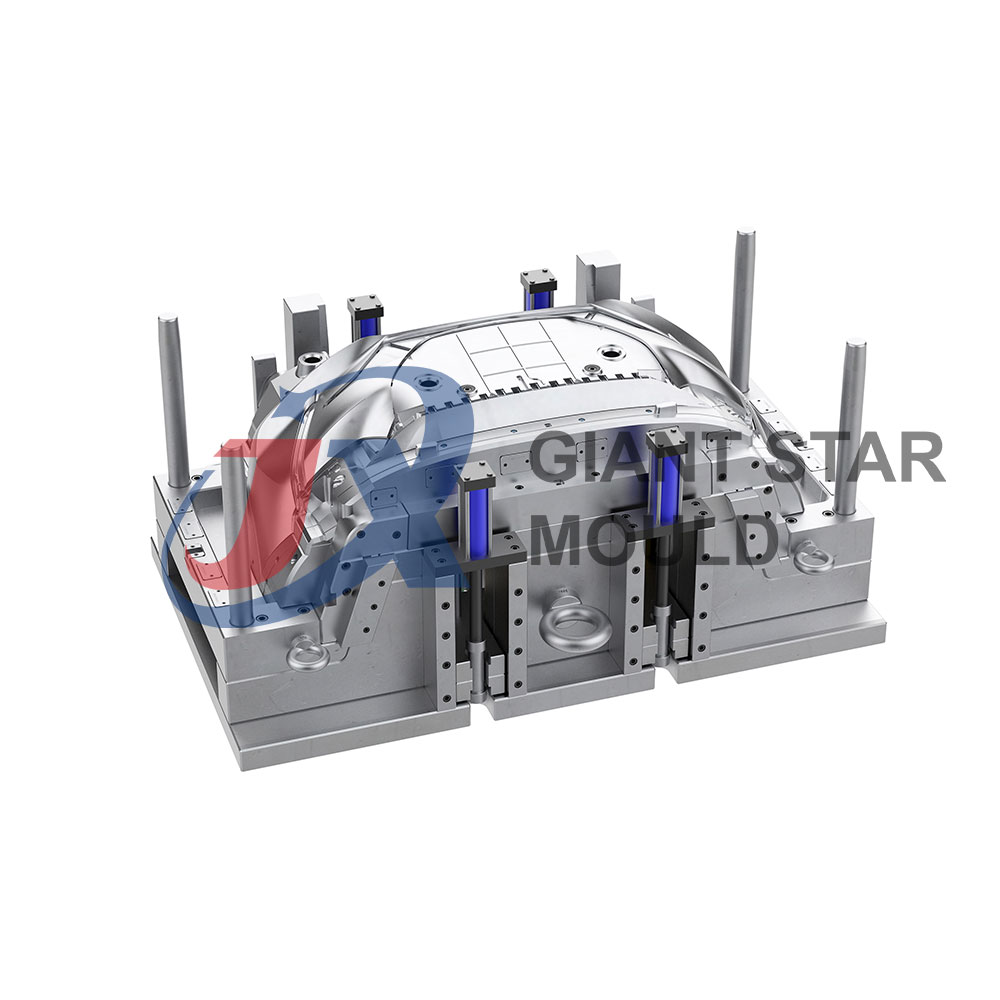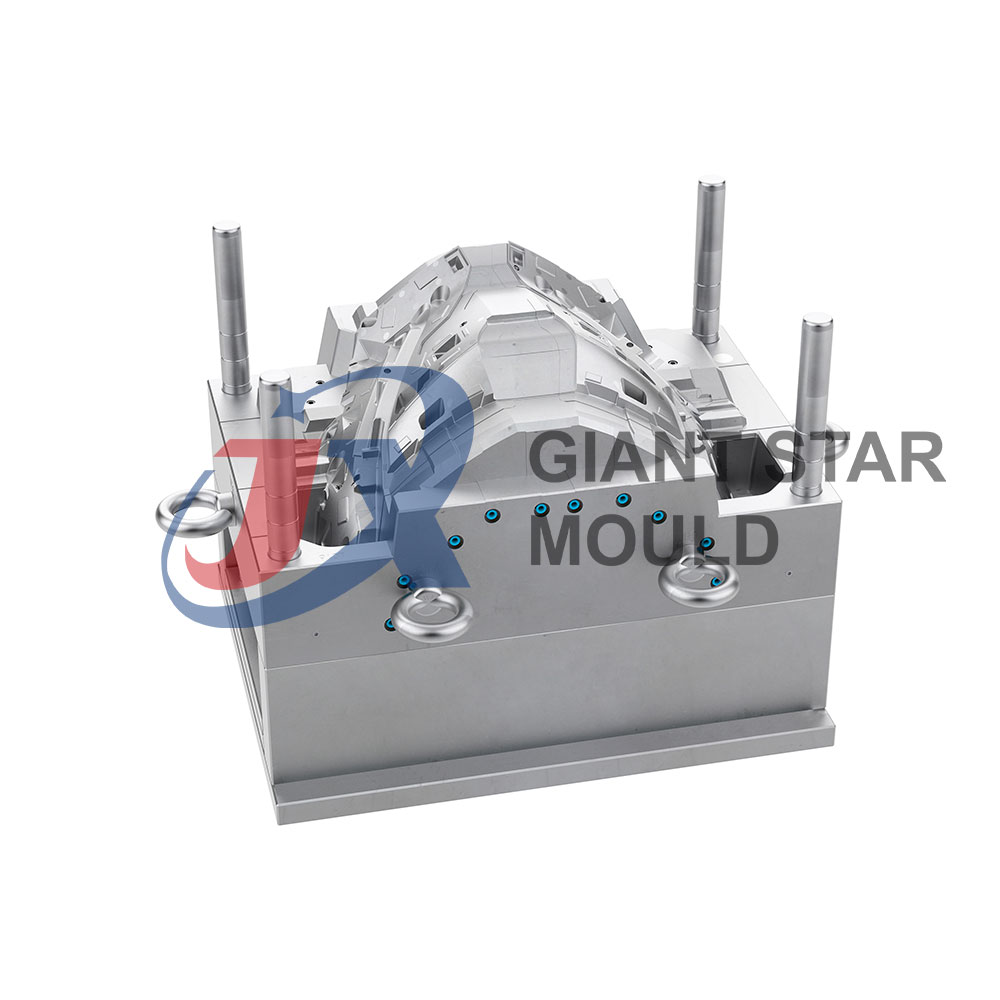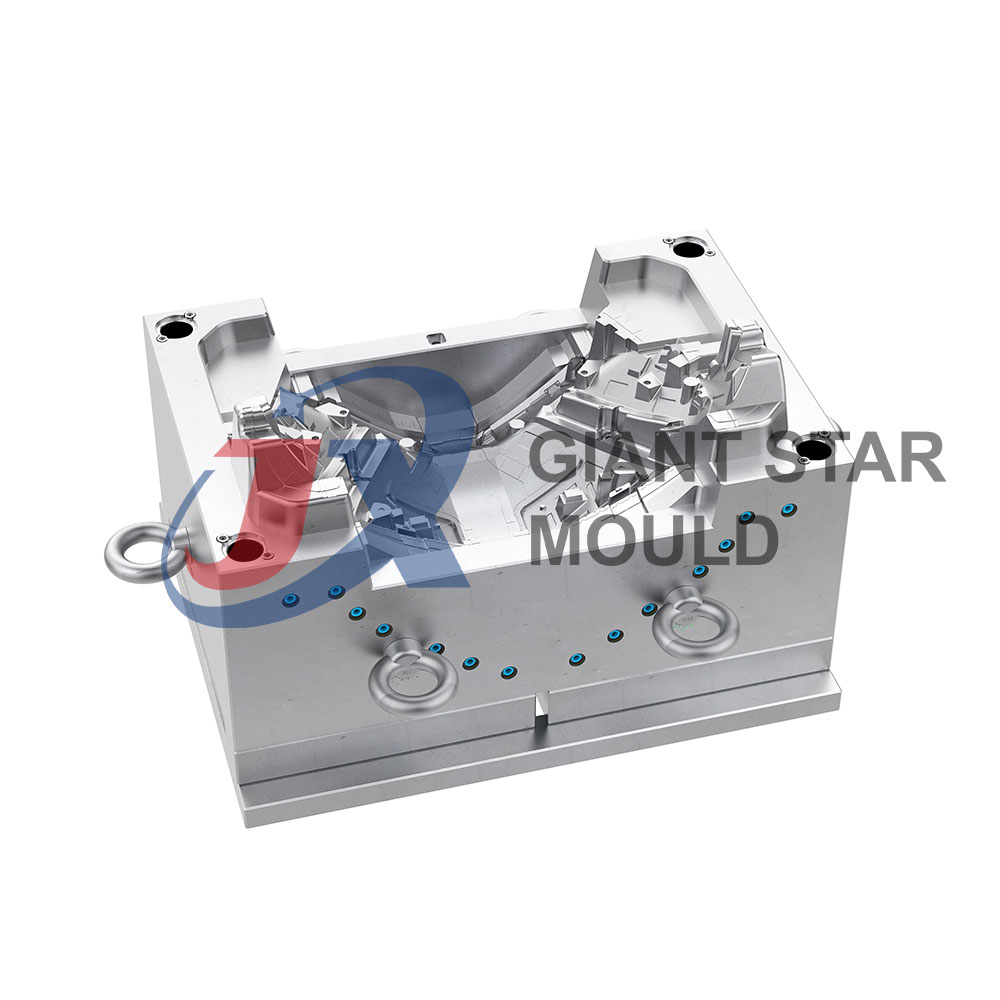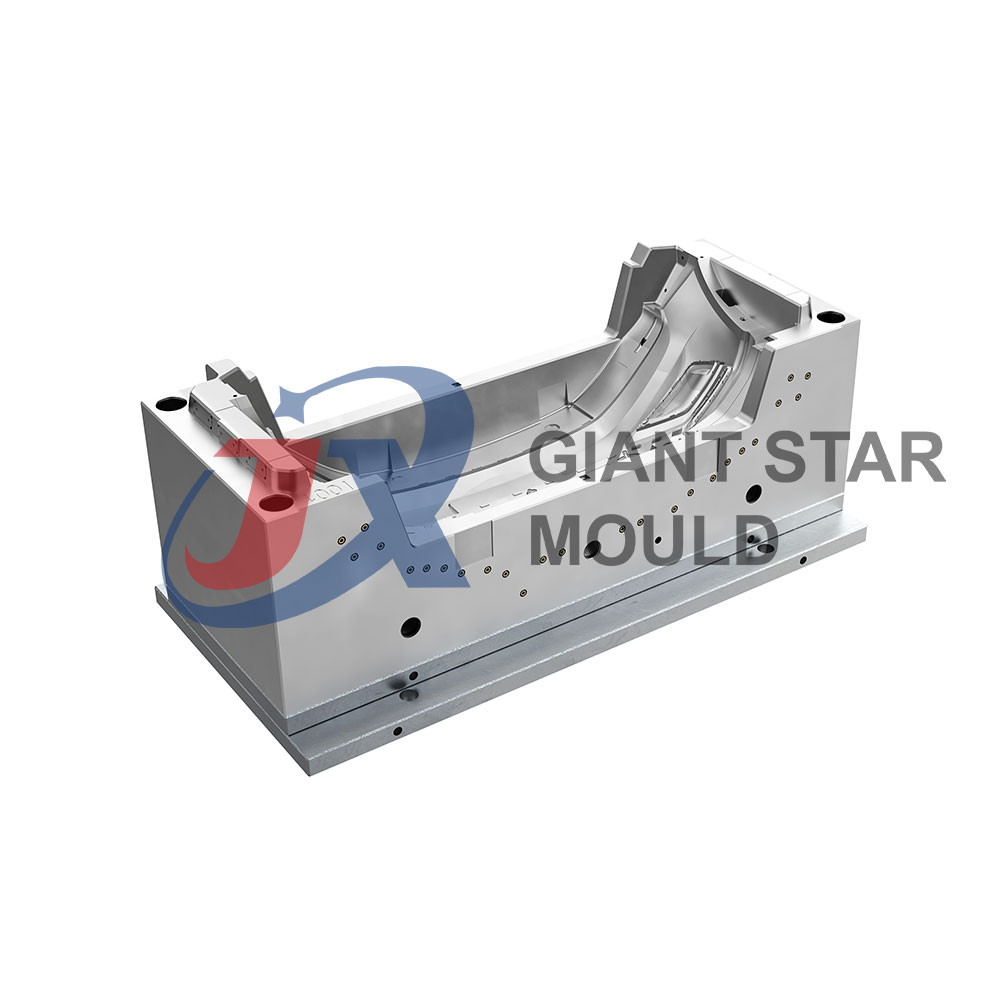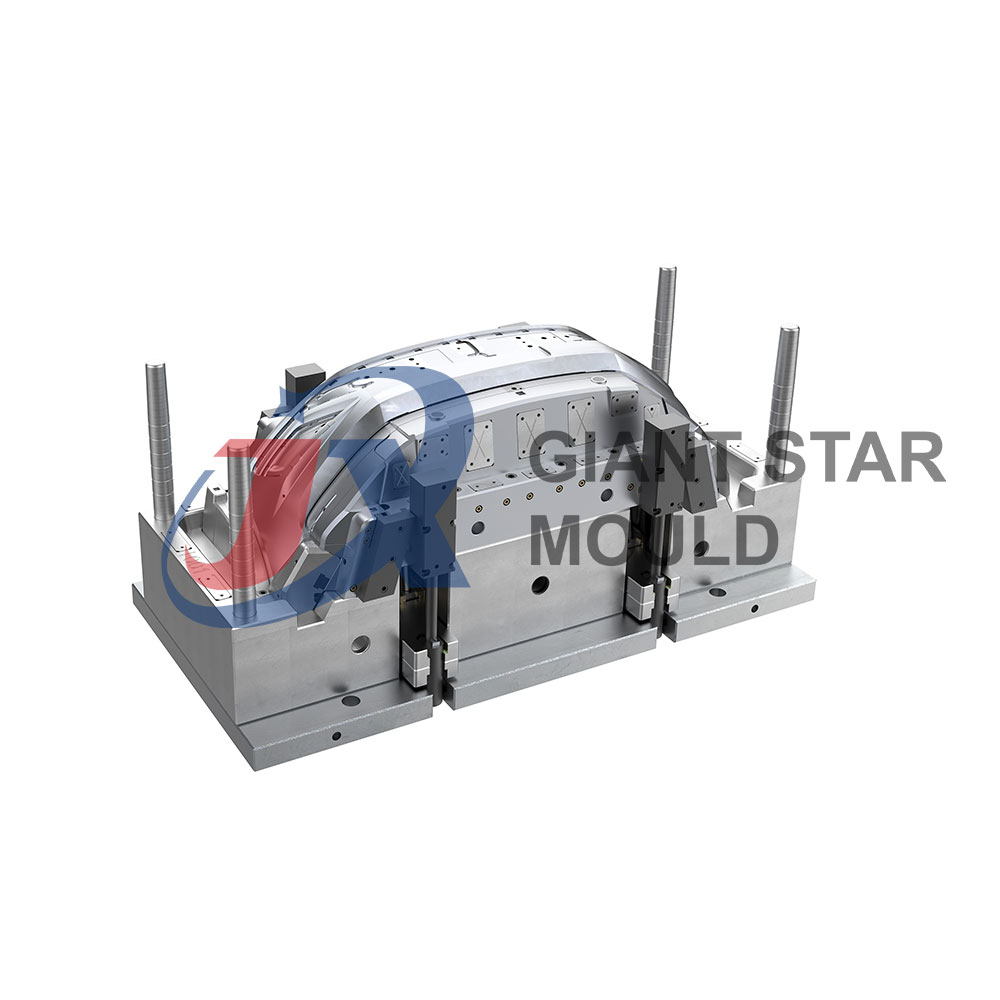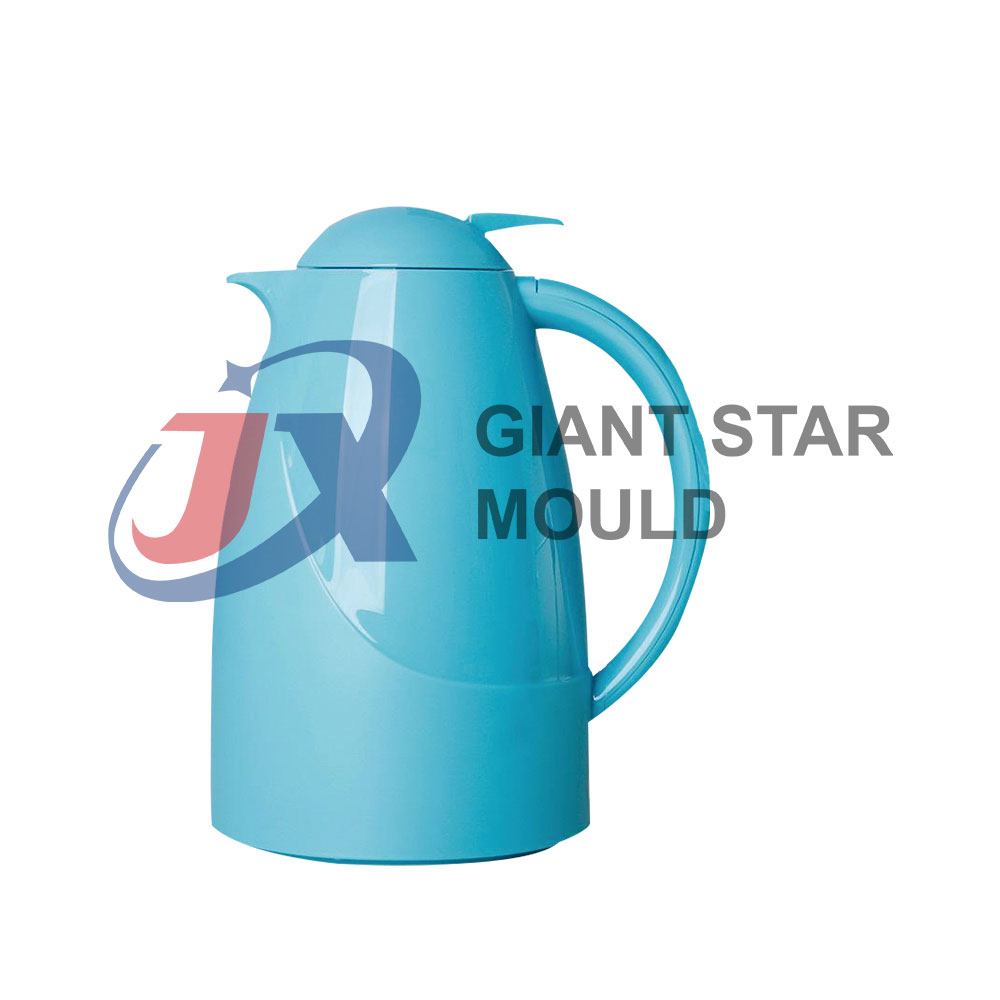
Thermo Jug Mould 02
Creating a mold for a thermos jug follows a similar process to making molds for other objects, but with some specific considerations due to the jug's shape and functionality. Here's a step-by-step guide:
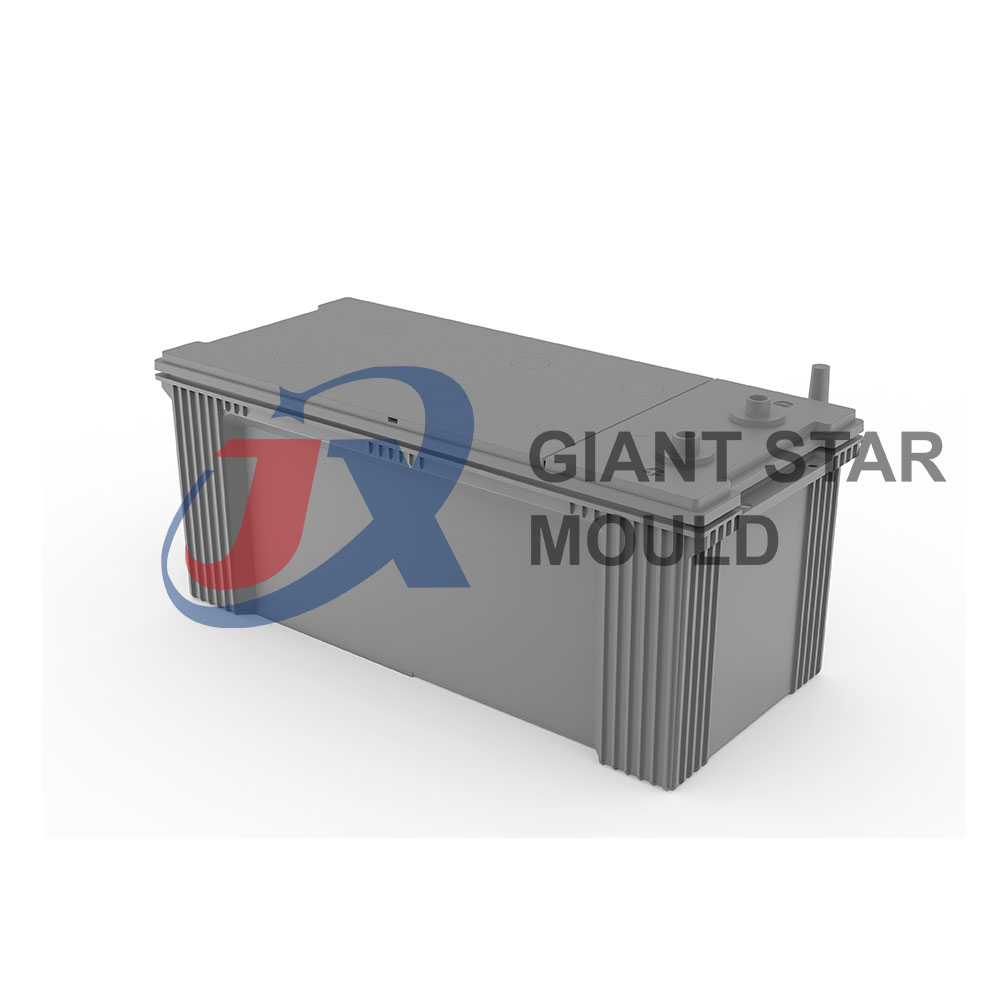
- Design: Begin with a detailed design of the thermos jug. This should include all dimensions, features, and any intricate details. CAD software can be helpful for this step.
- Prototype Preparation: Create a prototype of the thermos jug based on your design. This can be done through 3D printing, machining, or manual fabrication using materials like wood or foam.
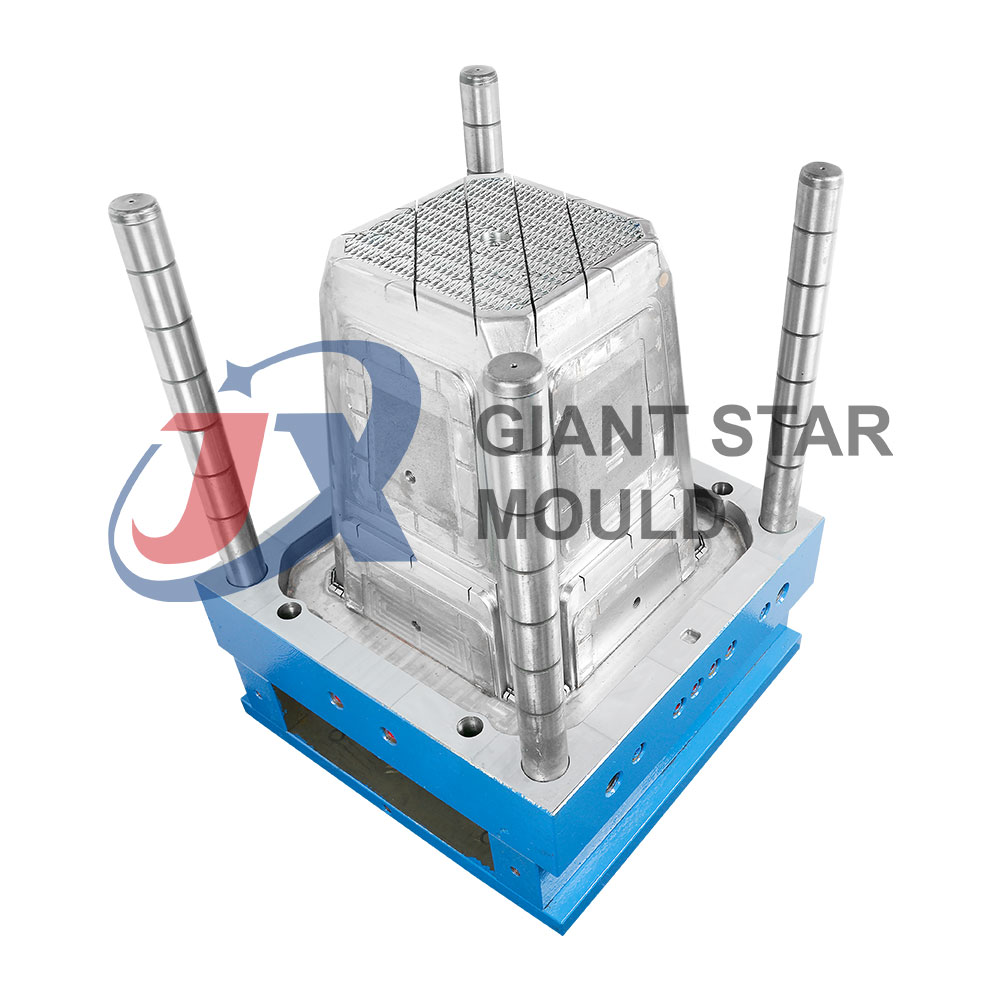
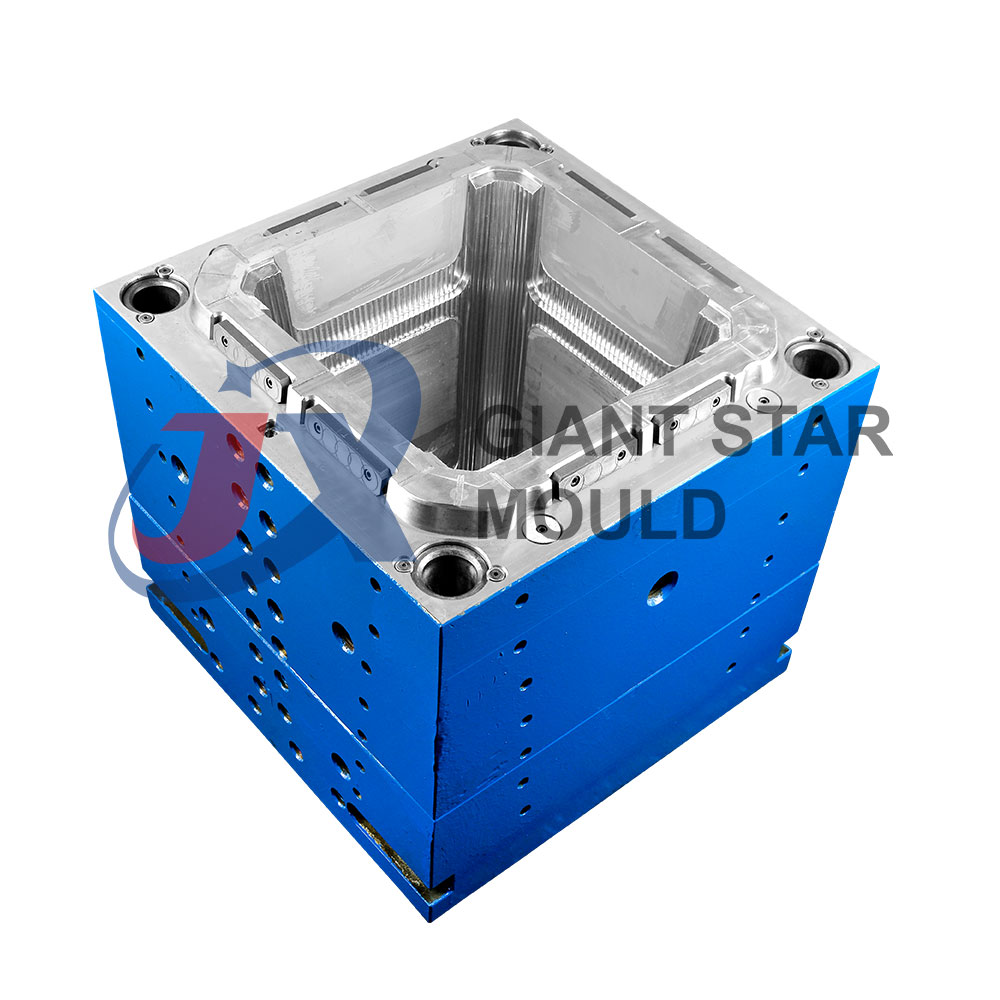
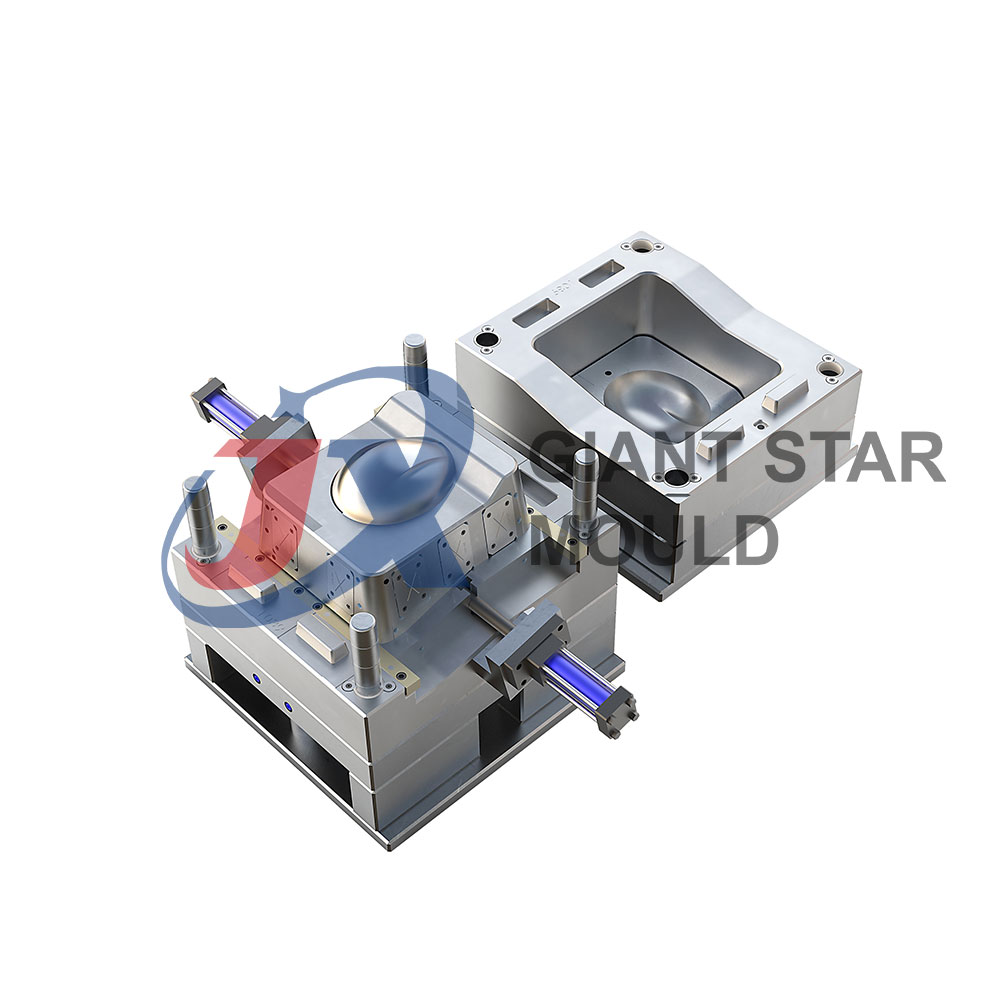
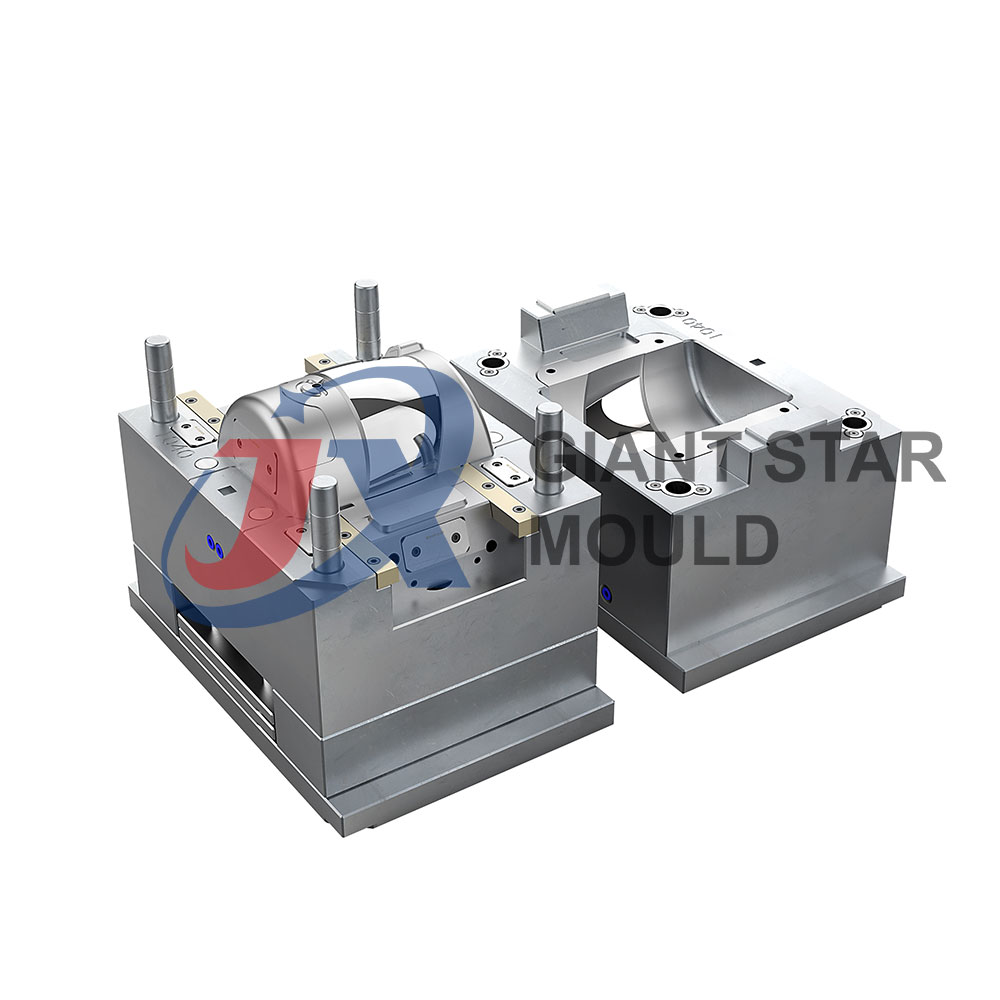
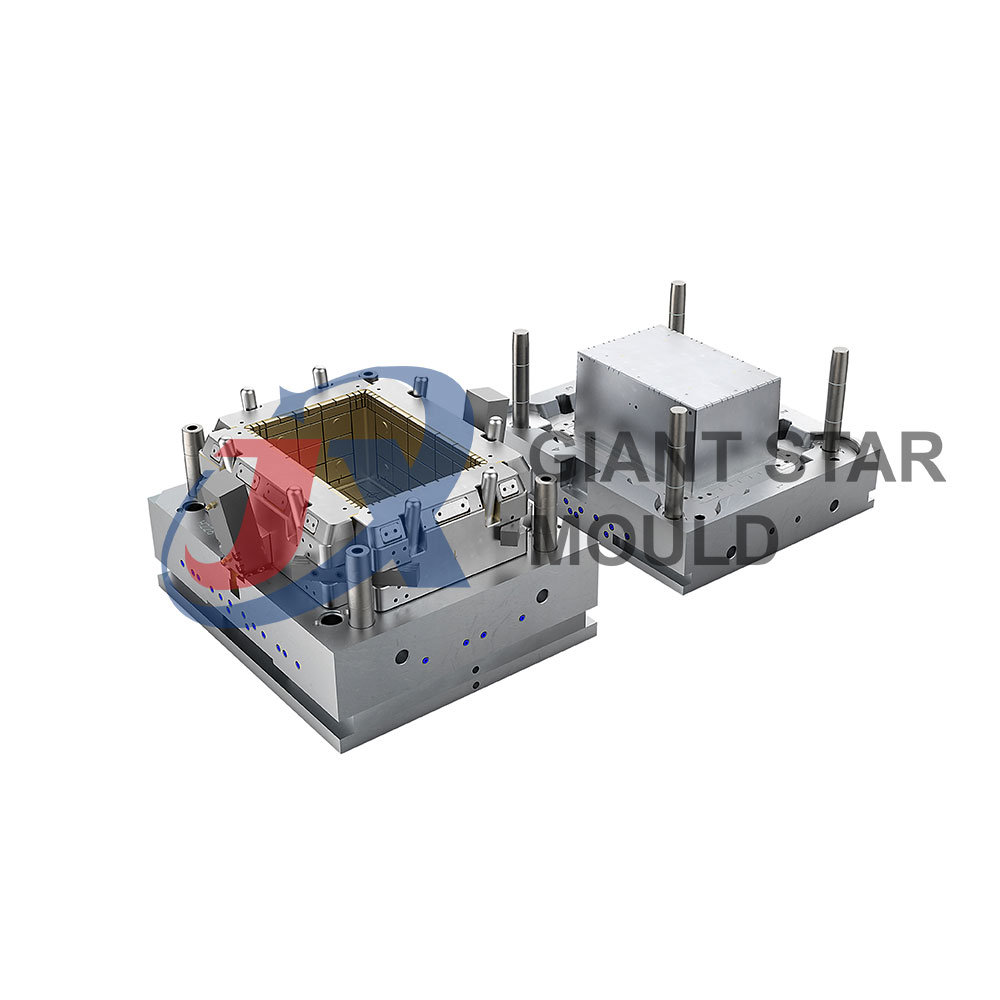
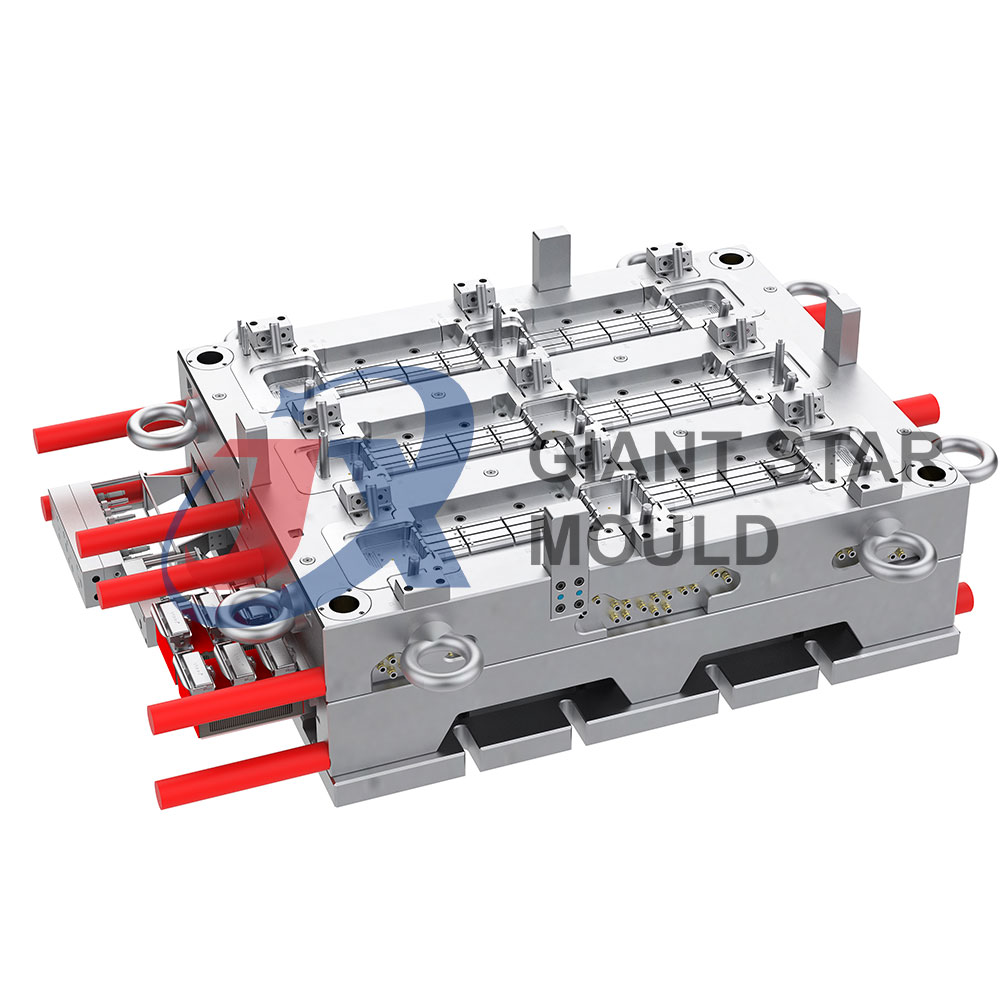
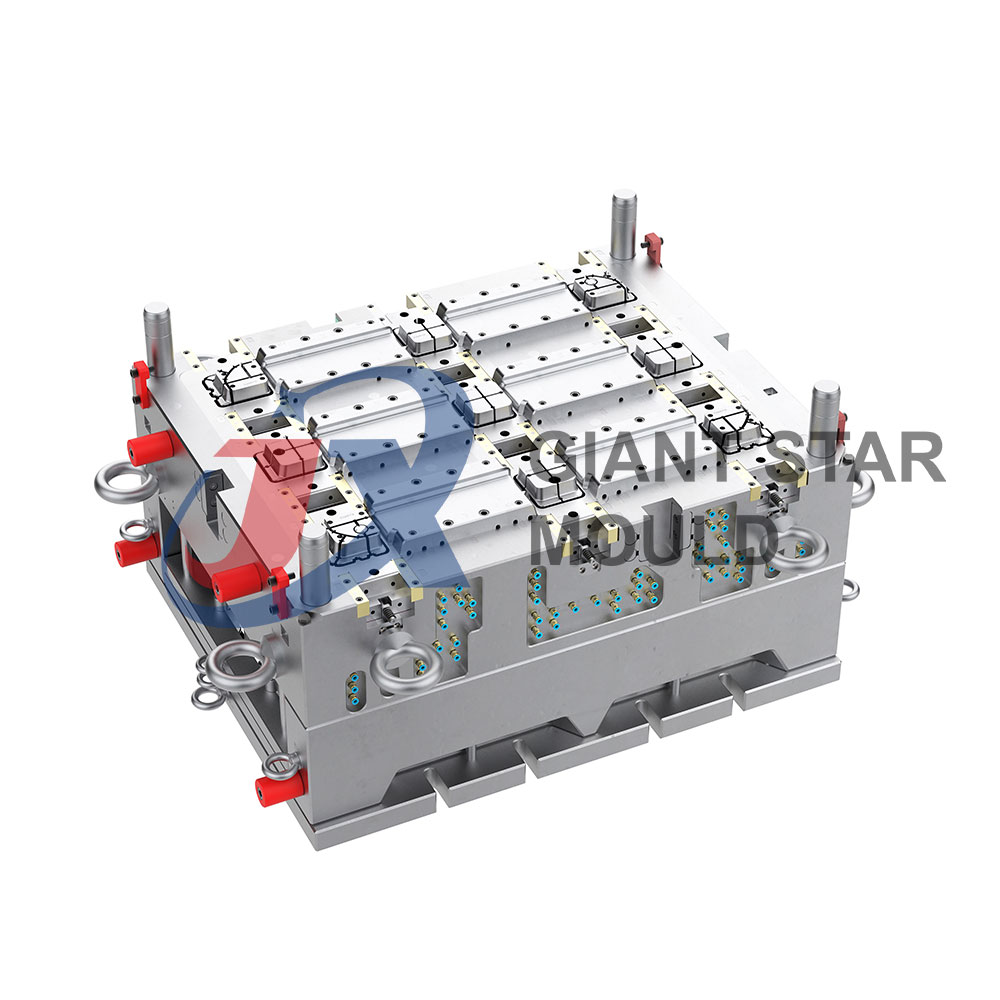
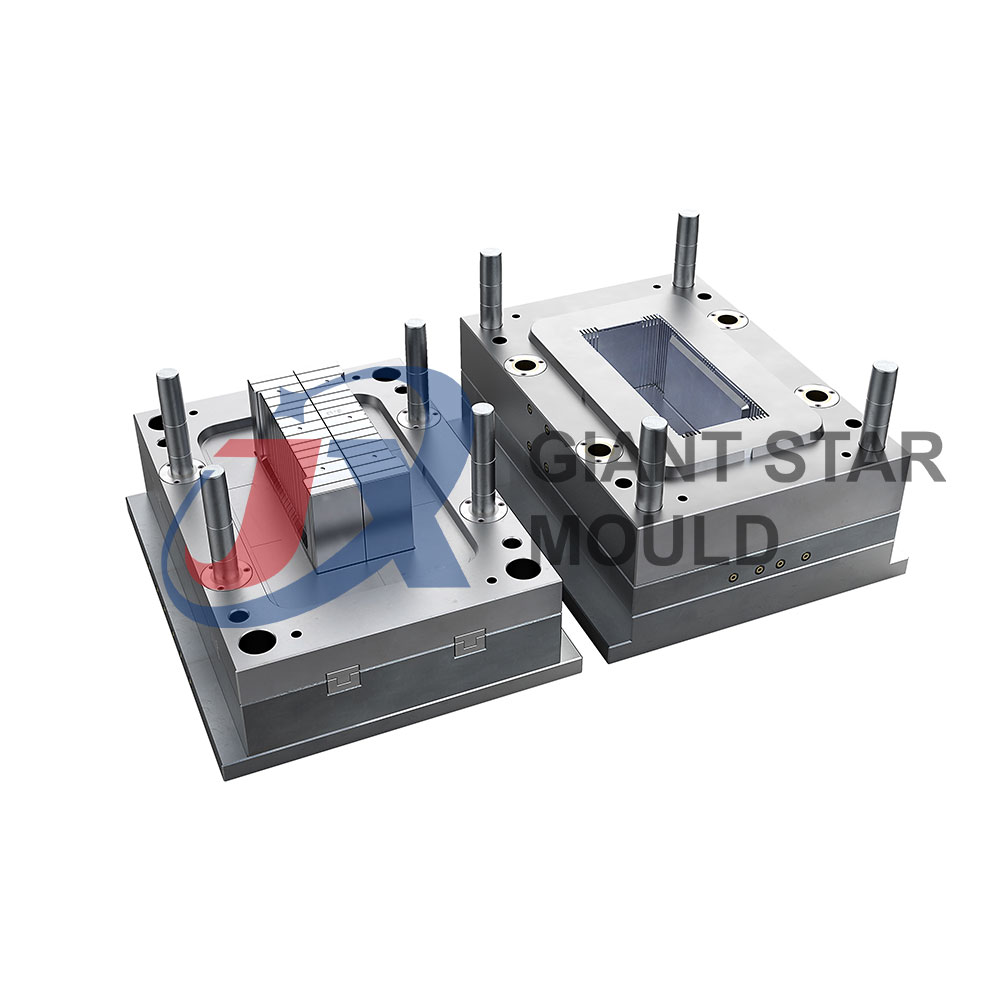
- Mold Box Construction: Construct a mold box around the thermos jug prototype. The box should be larger than the jug to allow space for the mold material. It should also be sturdy enough to contain the mold material without leaking.
- Release Agent Application: Apply a release agent to the surface of the thermos jug prototype. This prevents the mold material from sticking to the prototype, making it easier to remove later. Make sure the release agent is compatible with both the prototype material and the mold material.
- Mold Material Selection: Choose a suitable material for making the mold. Common options include silicone rubber, urethane rubber, or epoxy resin. Consider factors such as mold flexibility, durability, and ease of use.
- Mold Making: Depending on the chosen mold material, follow the manufacturer's instructions for mixing and applying it. Here's a general overview:
- Silicone Rubber: Mix the silicone rubber base and catalyst according to the manufacturer's instructions. Pour or brush the silicone over the thermos jug prototype, making sure to cover it completely. Allow the silicone to cure according to the recommended time.
- Urethane Rubber: Mix the urethane rubber components thoroughly and pour them over the thermos jug prototype. Ensure that the entire surface is covered evenly. Allow the urethane rubber to cure completely.
- Epoxy Resin: This is less common for making flexible molds but can be used for certain applications. Follow the manufacturer's instructions for mixing and applying the epoxy resin to the thermos jug prototype.
- Curing: Allow the mold material to cure completely. This may take several hours or days, depending on the type of material used and environmental conditions.
- Demolding: Once the mold material has cured, carefully remove the mold box and separate the mold from the thermos jug prototype. Take your time and be gentle to avoid damaging the mold or the prototype.
- Finishing: Trim any excess material from the mold and inspect it for any imperfections. You may need to do some touch-ups or repairs depending on the quality of the mold.
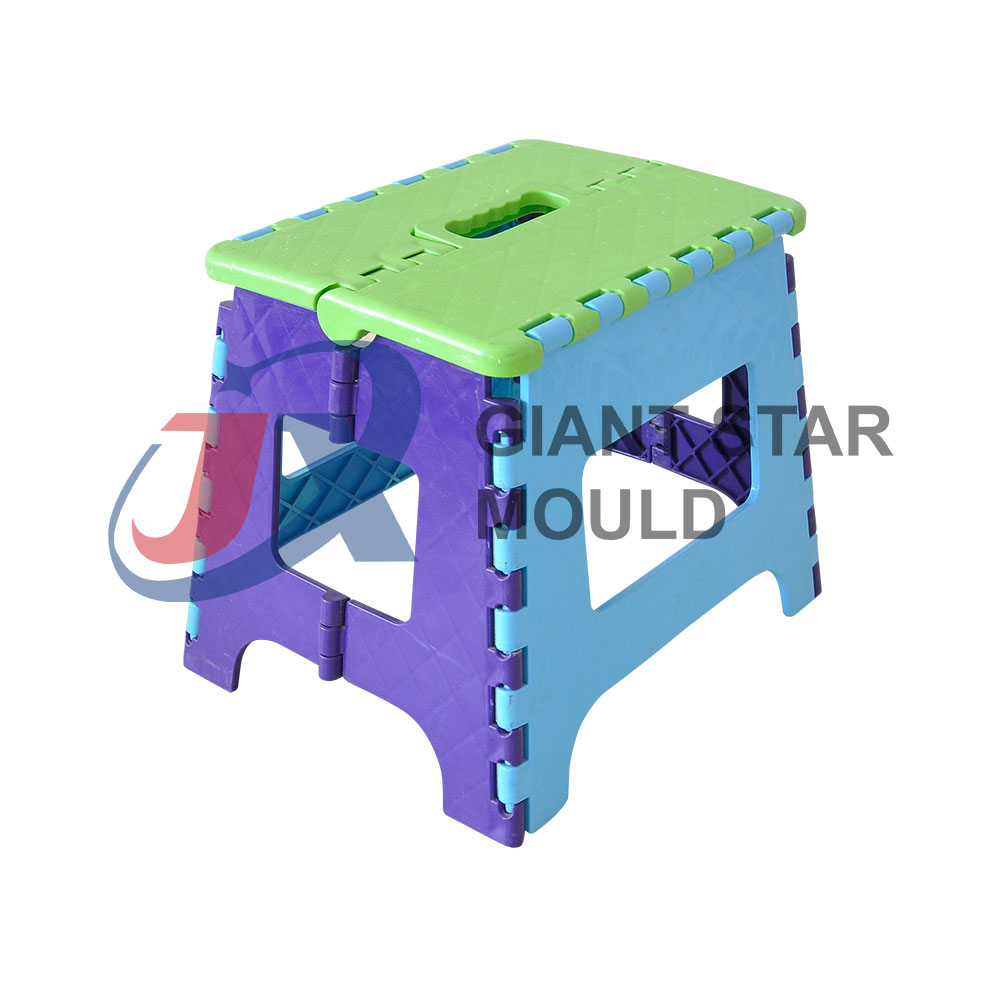
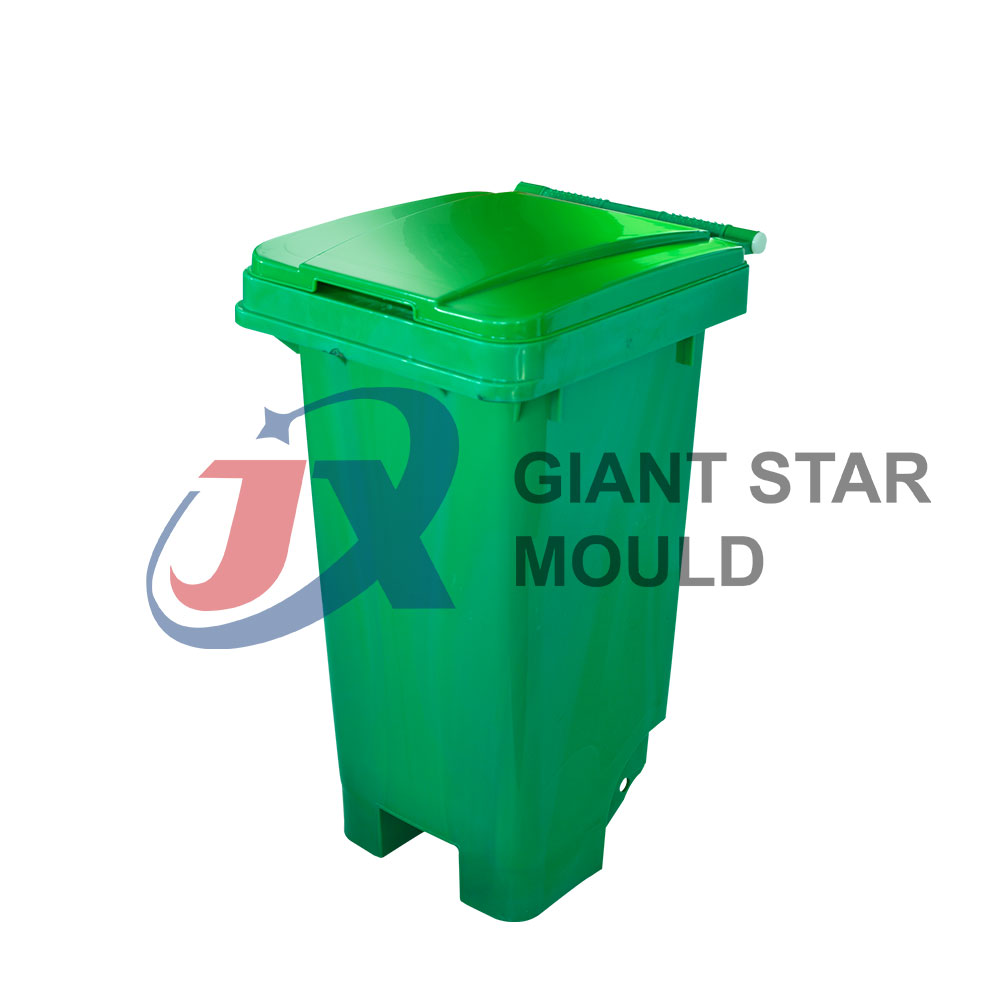
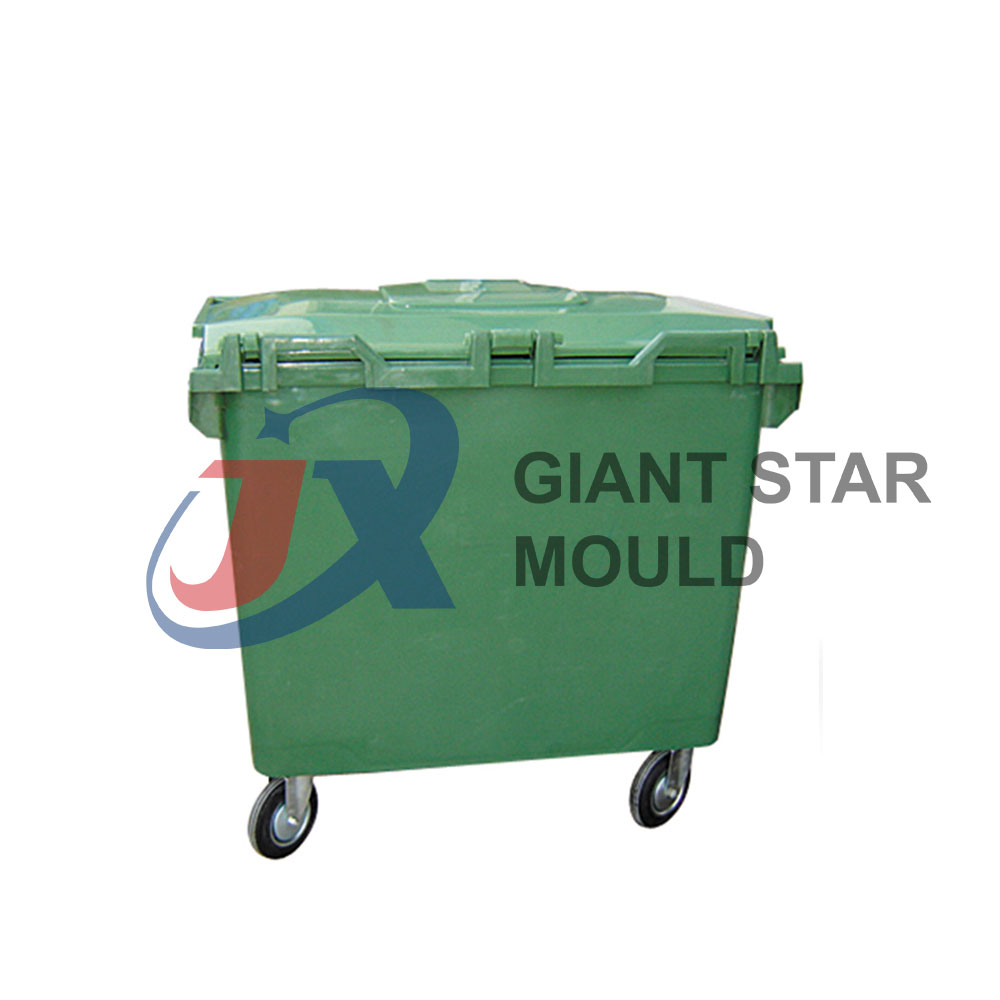
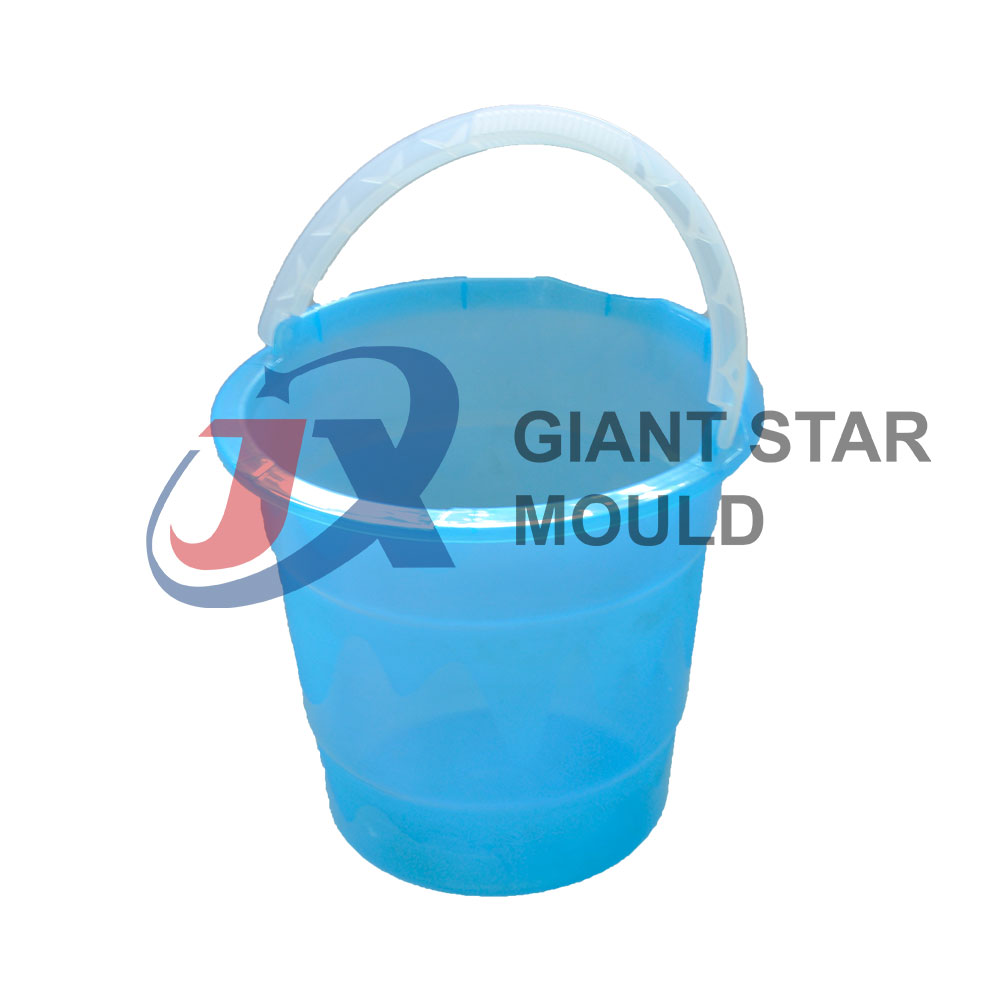
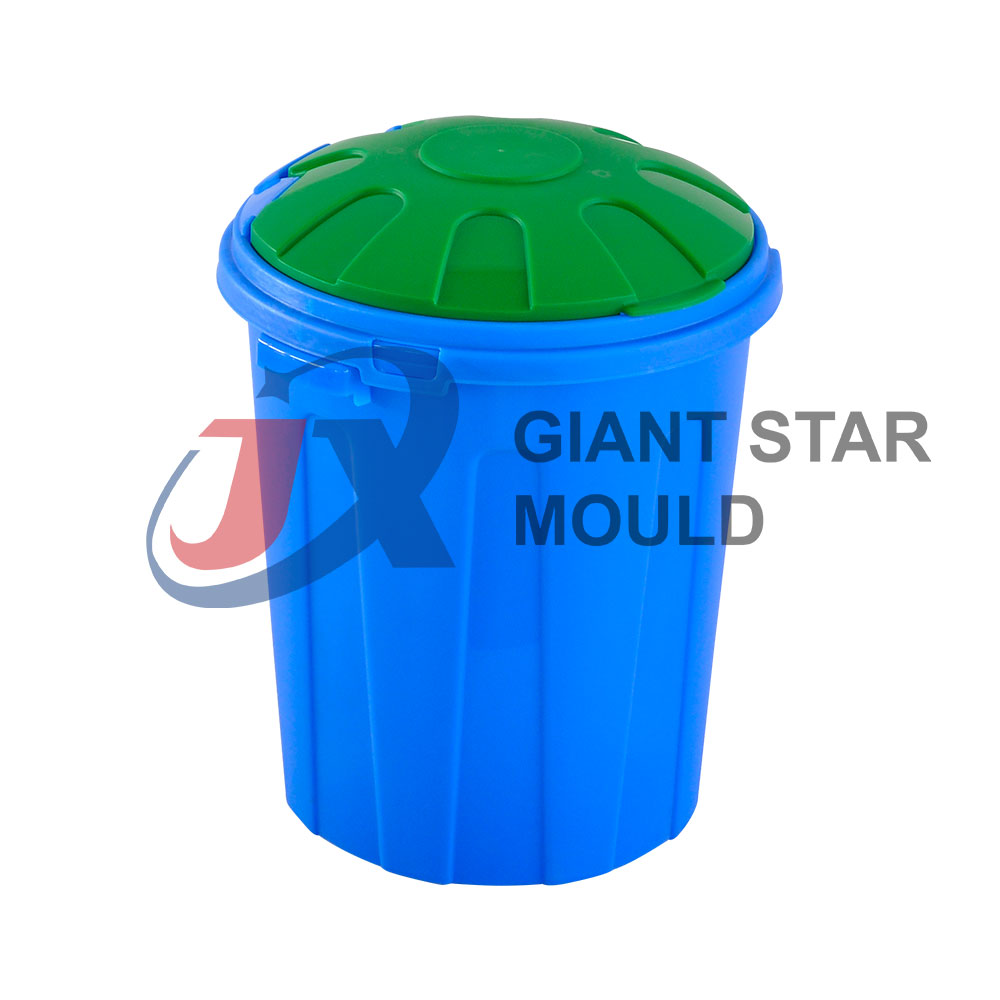
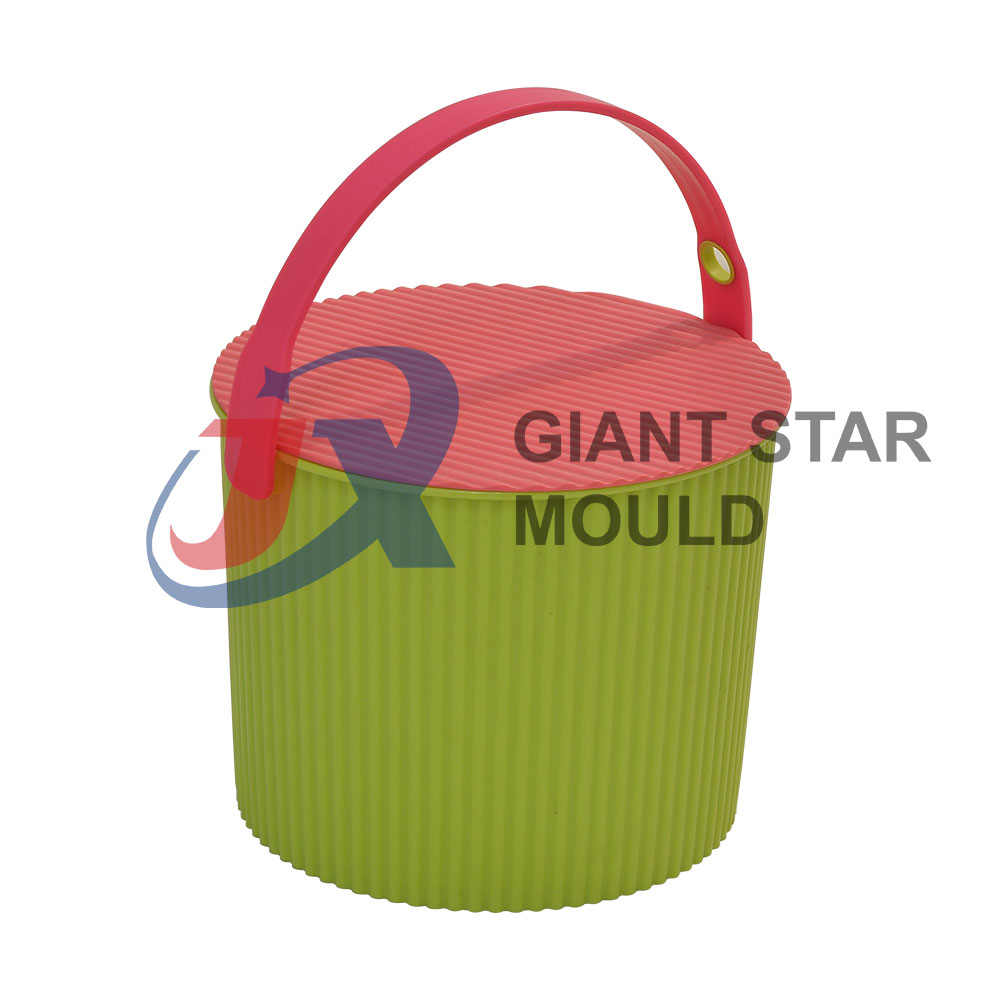
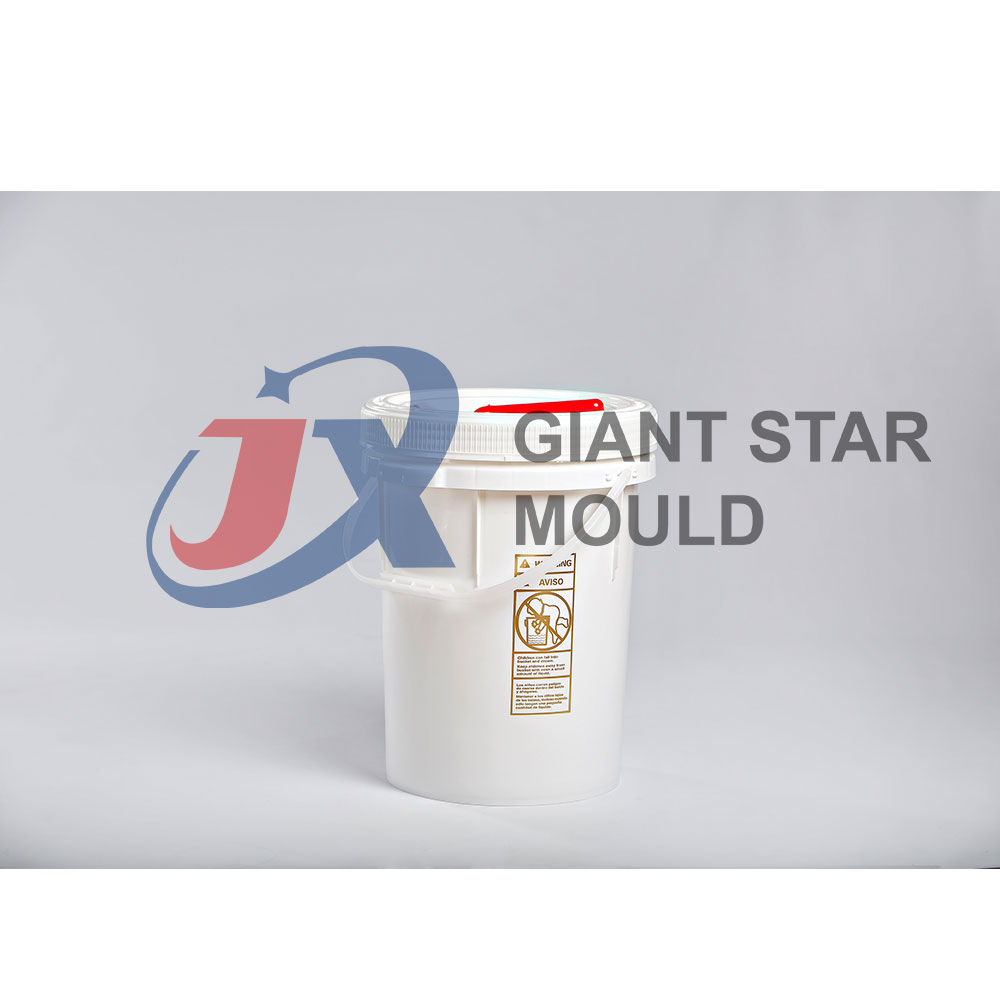
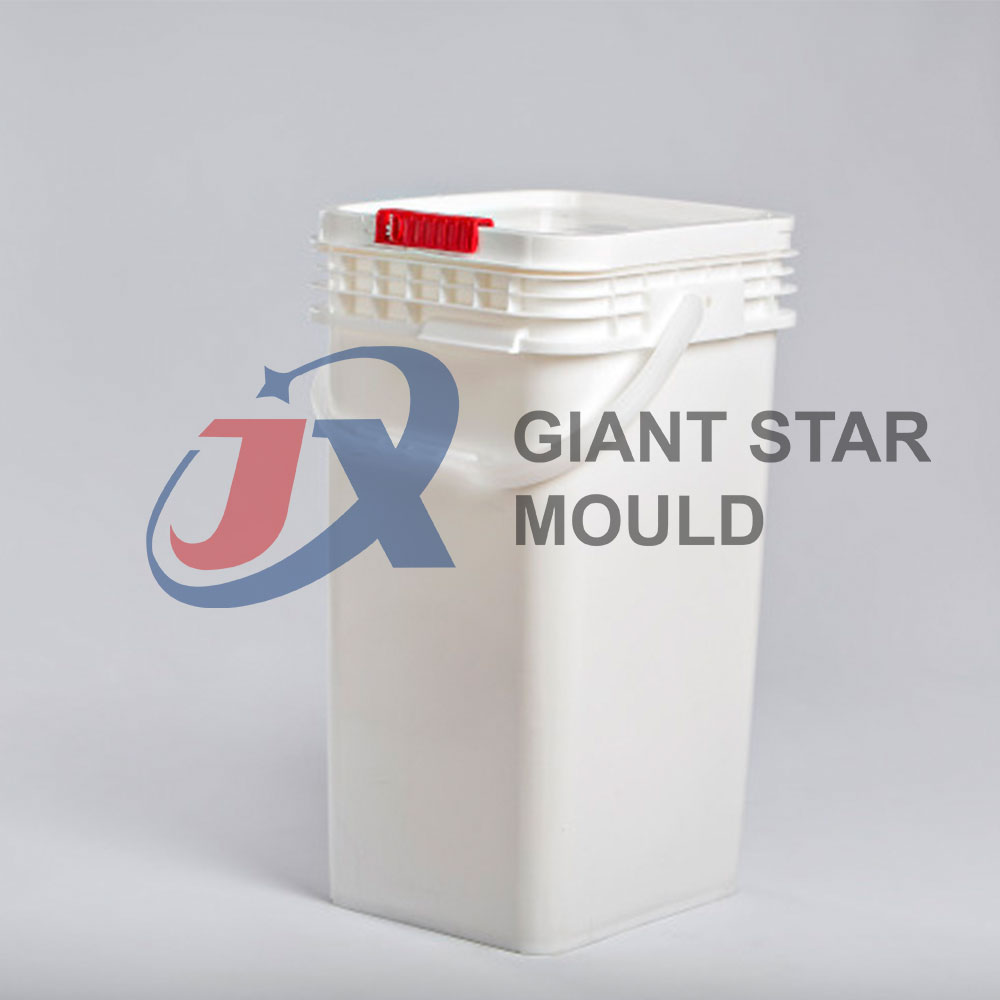
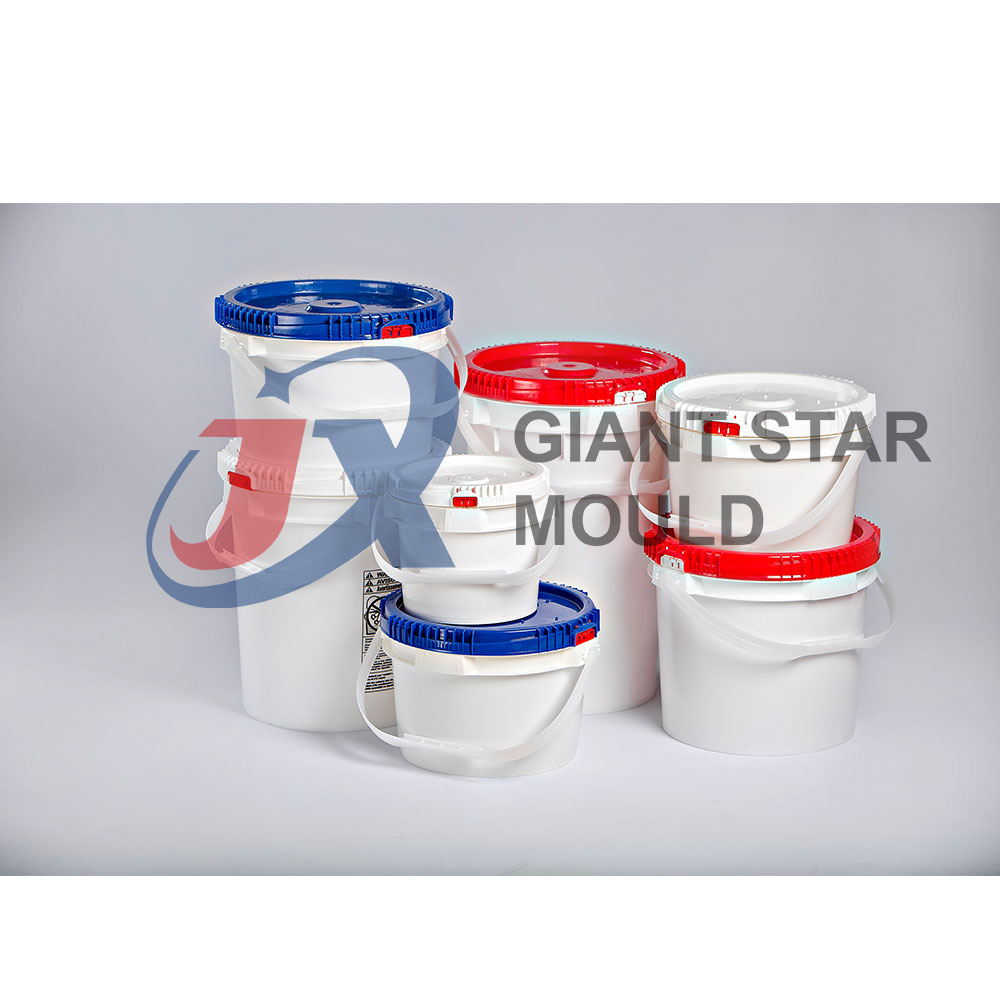
- Testing: Test the mold by casting a replica of the thermos jug using the appropriate material (e.g., plastic, metal). This will help identify any issues with the mold and allow you to make adjustments as needed.
- Finalizing: Once you're satisfied with the mold, it's ready for use in producing thermos jugs. Store it properly to ensure its longevity and reusability.